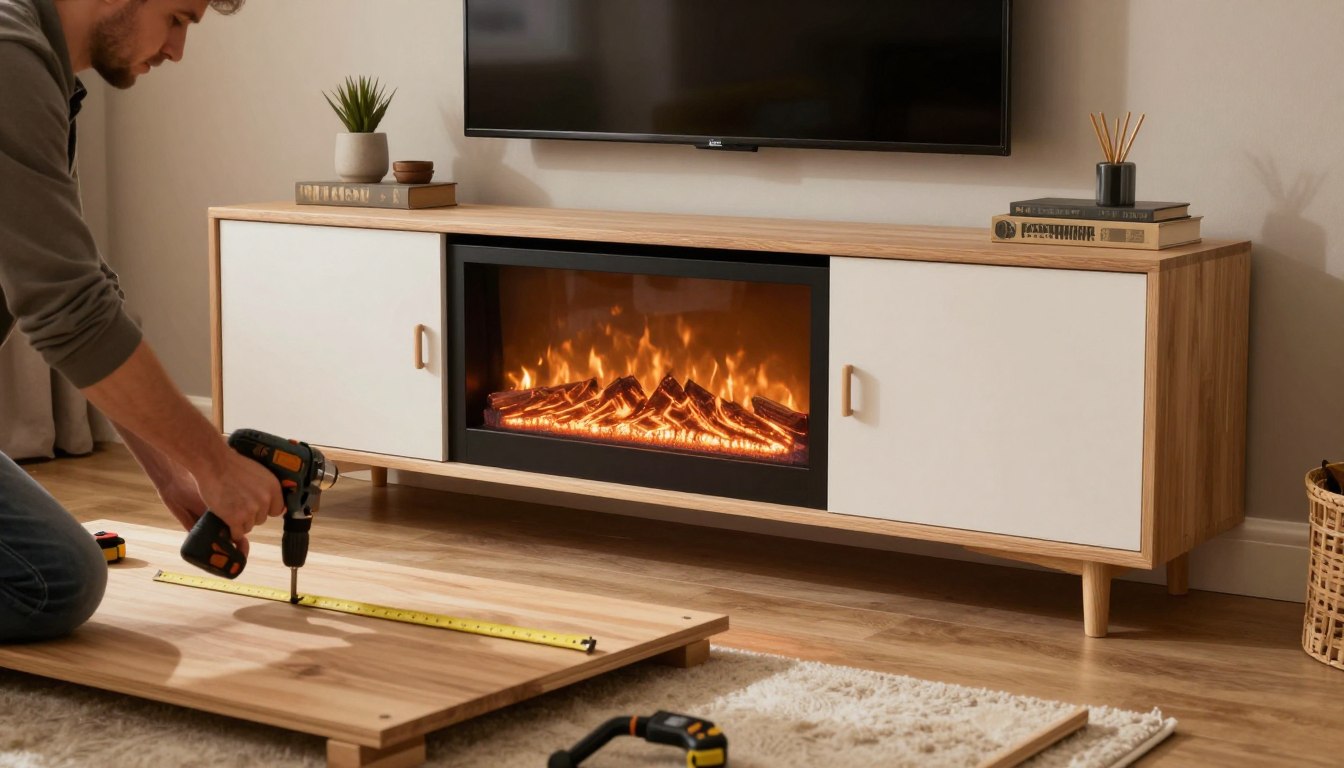
How to Build TV Stand with Fireplace Step by Step
Affiliate links — we may earn a commission
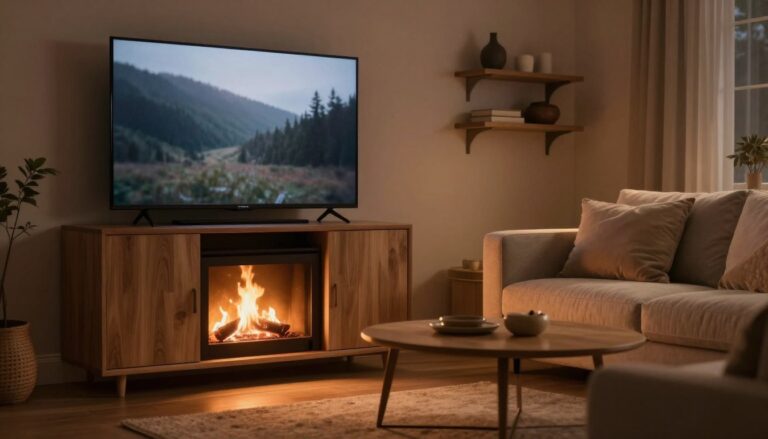
I’ll never forget the night I saw prices over $1,500 for a media console with a fireplace on Wayfair and Pottery Barn. My wallet winced. I wanted that cozy glow in my living room, but my budget didn’t agree. So, I decided to build one myself.
Building furniture with your hands is incredibly rewarding. The smell of fresh-cut pine and the pride when guests ask where you got it are unbeatable. This 72-inch entertainment center is surprisingly easy to make.
What I love about these DIY plans is how flexible they are. You don’t need to spend $300 on an electric insert. Use flameless candles, a lighted log set, or real firewood with LED lights. The look is stunning, and you won’t need an electrician.
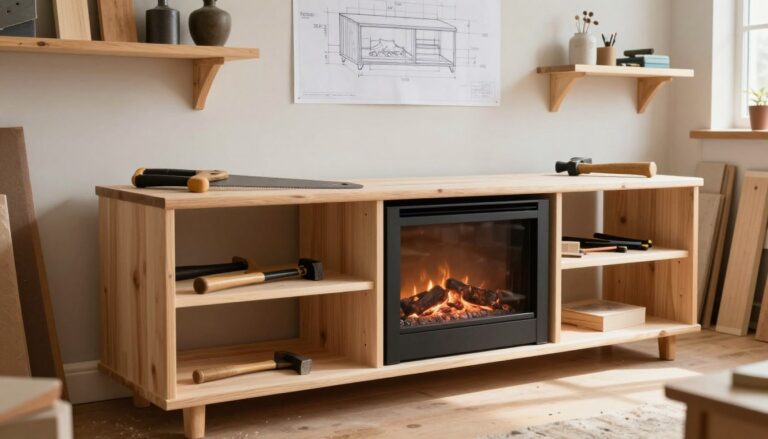
This design combines an entertainment console with storage and a warm focal point. I’ve detailed every step so you can follow along easily. Ready to save money and create something beautiful? Let’s start.
Key Takeaways
- Learning how to build TV stand with fireplace saves you hundreds compared to retail options from brands like Pottery Barn or Wayfair.
- The finished console measures 72 inches wide, sized to support large TVs and fit most living room layouts.
- DIY fireplace TV stand plans include a faux fireplace option — no expensive electric insert required.
- Budget-friendly flame alternatives include flameless candles, LED lights, and lighted log sets for a realistic warm glow.
- The project uses accessible materials like standard lumber boards, basic hardware, and common woodworking tools.
- Built-in storage compartments keep media equipment, cables, and accessories neatly hidden from view.
Essential Tools and Materials for Your DIY Fireplace TV Stand
Before starting, I make sure I have all the tools and materials. A trip to the hardware store mid-project is a big waste of time. Having everything ready saves time, money, and keeps you calm.
Wood Selection and Lumber Requirements
For your electric fireplace TV console, choose select pine or poplar. They’re affordable, easy to work with, and stain well. Here’s what you’ll need:
- Three 1×12 boards at 8 feet
- One 1×12 board at 10 feet
- One 1×3 board at 10 feet
- One 1×6 board at 5 feet
- One 1×2 board at 8 feet
- 8 feet of 5-1/4″ base moulding
- 8 feet of medium crown moulding (under 1-3/4″ wide and 2-1/2″ tall)
- Optional: one 4×8 sheet of ¼” plywood for the back panel
Hardware and Fasteners Shopping List
Choosing the right materials is key. You’ll need fasteners and hardware that keep your stand sturdy for years.
| Item | Size/Type | Quantity |
|---|---|---|
| Pocket hole screws | 1-1/4″ | Box of 50 |
| Brad nails | 1-1/4″ | Box of 100 |
| Brad nails | 1″ | Box of 100 |
| Wood glue | Standard bottle | 1 |
| Euro Style concealed hinges | Non-mortise surface mount | 3 sets |
Specialized Tools That Make the Job Easier
A Kreg Jig is my go-to for electric fireplace TV console projects. It makes strong, invisible joints. If you don’t have one, use 2″ screws or brad nails and glue for strong results.
You’ll also need a miter saw, tape measure, drill, and brad nailer. With these tools, you’re set to start designing your custom TV stand.
Planning Your Custom Fireplace Entertainment Center Design
Before I start, I need a solid plan. Skipping measurements is like baking without a recipe. It’s messy and disappointing. This guide helps you make smart choices to save time and money.
Determining the Perfect Dimensions for Your Space
I always measure my room twice before starting. Jon Peters’ design fits most living rooms well. It’s a great starting point.
| Component | Measurement |
|---|---|
| Top Panel | 57-1/2″ |
| Side Panels | 39-1/4″ |
| Bottom Panel | 52-1/2″ |
| Vertical Dividers | 33-3/4″ |
| Center Divider | 31-1/2″ |
These sizes fit a TV on top and hidden storage below. You can even use it as a room divider.
Choosing Between Electric Insert or Faux Fireplace Options
When choosing, I consider two options. The Touchstone Sideline 50 Electric Fireplace offers real flames and heat for $400–$500. It’s a top choice.
For a budget option, faux fireplaces with candles or LED lights are under $50. They add ambiance without the cost.
Sketching Your Blueprint and Layout
I draw my plan on graph paper or use SketchUp. I detail every part, ensuring the center fits the insert perfectly.
A good plan today beats a perfect plan tomorrow — when you’re staring at $200 worth of lumber.
With my design ready, I can start building the cabinet structure.
Building the Basic Cabinet Structure
Now, the sawdust starts flying, and the TV stand with fireplace woodworking project comes to life. I love this stage because it turns a pile of lumber into real furniture.
Begin by cutting your three main pieces from 1×12 boards. These cuts are the heart of your build. So, measure twice and cut once — it’s very important.
| Piece | Length | Quantity | Material |
|---|---|---|---|
| Top Panel | 57-1/2″ | 1 | 1×12 Board |
| Side Panels | 39-1/4″ | 2 | 1×12 Board |
| Bottom Panel | 52-1/2″ | 1 | 1×12 Board |
The bottom panel is shorter than the top. This is on purpose. It makes room for decorative trim and base moulding you’ll add later. This design uses a bookshelf-style foundation, making it sturdy and easy to put together.
When joining these pieces, you have choices:
- Pocket holes with 2″ screws for invisible joints
- Brad nails paired with wood glue for quick assembly
- A combination of both for maximum strength
I like pocket holes because they make strong connections that are hidden. A Kreg jig makes drilling these easy.
Build it flat on the floor, square it up, and stand it upright once secured. Trust me — wrestling a wobbly frame into position is no one’s idea of fun.
Once your basic cabinet stands on its own, you’re ready for the next steps. The frame assembly and interior dividers are next. The fun customization starts now.
How to Build TV Stand with Fireplace Frame Assembly
Now that your basic cabinet structure is ready, it’s time for the fun part. Building the frame is where things start looking like actual furniture. It’s more satisfying than binge-watching your favorite show.
Constructing the Bookshelf Base Using 1×12 Boards
I start with 1×12 boards for the base. They’re wide enough for solid shelving without gluing panels. Cut side pieces to match your height, and lay out top and bottom boards between them.
A Kreg Jig makes this step almost foolproof. Just drill pocket holes and drive screws home. Without a Kreg Jig, wood glue and 2-inch screws work great too.
Installing Interior Dividers for Hidden Storage
This is where your step by step fireplace media console really takes shape. I install two vertical dividers at 33-3/4 inches and one center divider at 31-1/2 inches. These create separate compartments for streaming devices, game controllers, DVDs, and books.
| Divider Position | Height | Purpose |
|---|---|---|
| Left side divider | 33-3/4″ | Side storage compartment |
| Right side divider | 33-3/4″ | Side storage compartment |
| Center divider | 31-1/2″ | Fireplace insert support |
Securing Joints with Pocket Holes or Brad Nails
Every joint needs to be rock solid. This stand supports your TV’s weight day after day. I use pocket hole screws at structural points and 18-gauge brad nails with wood glue for trim-style connections.
When you build your own fireplace TV cabinet this way, it’ll handle anything you throw at it. Including that 65-inch screen you’ve been eyeing.
A wobbly frame is a builder’s worst nightmare. Take an extra five minutes to check every joint before moving on.
With the frame locked in tight, you’re ready to create the fireplace insert opening. This is the centerpiece of your build.
Creating the Fireplace Insert Opening
This is the moment your homemade electric fireplace TV stand starts to look like the real deal. I’m talking about cutting the center opening — the spot where the magic happens. If you mess this up, you’ll have a gaping hole that screams “DIY disaster.” But if you get it right, guests will think you spent a lot of money on a custom piece.
I built my center section to fit the Touchstone Sideline 50 Electric Fireplace, a very popular recessed insert. Before cutting, I checked every measurement from the manufacturer’s spec sheet. Here are the key dimensions to keep in mind:
| Electric Insert Model | Width Required | Height Required | Depth Required |
|---|---|---|---|
| Touchstone Sideline 50 | 50.4″ | 5.5″ | 5.5″ |
| Dimplex Linear 34 | 35.4″ | 11.7″ | 5.4″ |
| R.W.Flame 36-inch | 36.2″ | 8.9″ | 5.5″ |
If a real electric insert isn’t in the budget, no worries. The opening works beautifully with faux alternatives like:
- Flameless candle clusters at varying heights
- Battery-powered lighted log sets
- LED strip lights paired with stacked birch firewood
For a polished look, add a back panel behind the opening. Use 54″ x 40″ plywood or decorative paneling. It gives you a clean mounting surface and hides wiring or wall imperfections. I used beadboard paneling for a touch of character — it’s cheap, easy to cut, and looks phenomenal.
Measure twice, cut once — and then measure a third time because electric inserts don’t forgive sloppy openings.
With this opening framed and squared up, you’re ready to move on to the decorative trim that ties the whole piece together.
Adding Decorative Trim and Crown Moulding
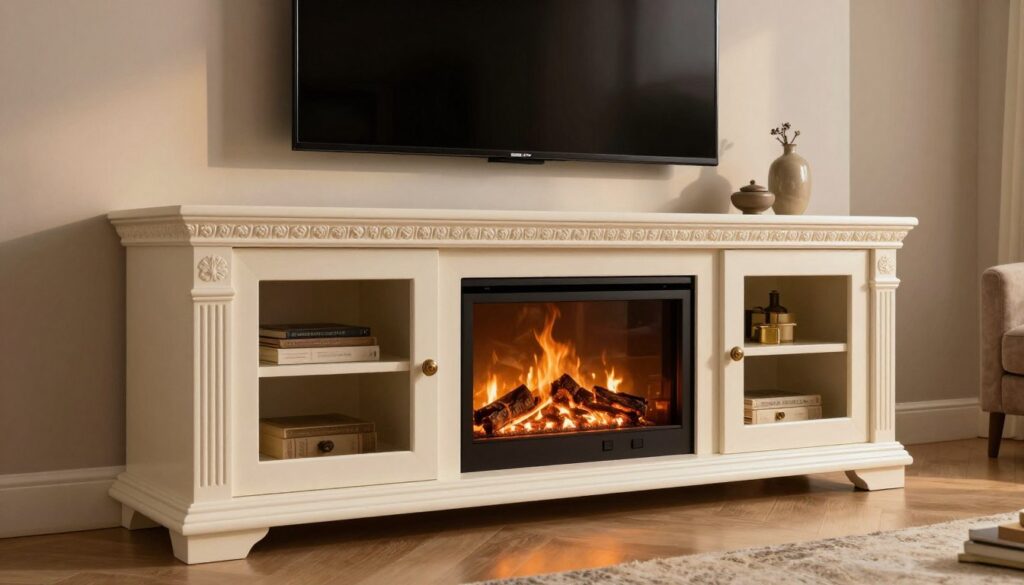
Now, your DIY fireplace TV stand plans are getting fancy. Trim and moulding make a simple cabinet look like a designer piece. This step is quick but makes a huge difference.
Installing the Top Header and Base Moulding
Begin by attaching a 1×3 board as the top header, cut to 57-1/2 inches. This provides a flat surface for the crown moulding. Next, cut a bottom header at 54 inches from a 1x board to frame the lower edge. A 1×6 footer board at 54 inches adds a solid base.
Use wood glue and brad nails for these pieces. The glue bonds them together, while the nails hold tight as it dries. Fill the nail holes with wood filler, and nobody will ever know they’re there.
Attaching Crown Moulding for a Professional Finish
For the crown, you’ll need about 8 feet of medium-sized moulding. Keep it under 1-3/4 inches wide and 2-1/2 inches tall. Run 8 feet of 5-1/4 inch base moulding around the bottom perimeter to match.
Good trim work is what separates a weekend project from a family heirloom.
| Moulding Type | Recommended Size | Length Needed | Placement |
|---|---|---|---|
| Top Header | 1×3 board | 57-1/2 inches | Upper front edge |
| Bottom Header | 1x board | 54 inches | Lower front edge |
| Base Footer | 1×6 board | 54 inches | Bottom support |
| Crown Moulding | Under 1-3/4″ x 2-1/2″ | 8 feet | Top perimeter |
| Base Moulding | 5-1/4 inch | 8 feet | Bottom perimeter |
With the trim installed, your DIY fireplace TV stand plans are really starting to shine. You’re now ready to move on to building the storage doors and access panels that complete the look.
Constructing Storage Doors and Access Panels
Doors are key to your electric fireplace TV console’s look. They’re like the outfit your build wears. Get them right, and it looks custom. Get them wrong, and it looks like a weekend project gone wrong.
Building Side Doors from 1×12 Boards
I cut two side doors at 31 inches from 1×12 lumber. To make them look fancy, I add decorative moulding. This simple step makes them look more expensive than they are. The trim at 11-1/4 inches frames each door beautifully.
Creating the Flip-Down Center Door
The center door is the fun part. I cut it at 31-1/4 inches, making it wider than the sides. I add 1×2 strips to the back to prevent warping. This panel hides media while allowing easy access — perfect for cable management.
“A well-built door is the difference between furniture and a box with shelves.” — Every woodworker who’s ever cringed at a crooked cabinet.
Installing Euro Style Concealed Hinges
I use three sets of Euro Style concealed hinges on each door. These hinges stay hidden, keeping the look clean throughout your build.
| Door | Width | Trim Size | Hinges Needed |
|---|---|---|---|
| Left Side | 31″ | 11-1/4″ | 3 concealed |
| Right Side | 31″ | 11-1/4″ | 3 concealed |
| Center Flip-Down | 31-1/4″ | 31-1/4″ | 3 concealed |
With your doors in, you’re ready to add an optional hearth platform for a dramatic look.
Optional Hearth Platform Construction
Want to elevate your project? Adding a hearth platform to your media center with a fireplace insert makes it look like a custom piece. It turns a simple TV stand into a built-in feature of your home.
The hearth is made from 1×8 boards as the base frame. Then, 2×6 boards are laid flat on top for the platform surface. This design gives the hearth a solid, chunky look, just like a traditional fireplace base.
Remember, skip the base moulding on your cabinet if you’re adding a hearth. The platform needs to sit flush against the bottom of your unit for a seamless look. Leave off the base moulding we talked about in the trim section. The hearth itself becomes the visual anchor.
A raised hearth elevates the fireplace insert a few inches off the ground, giving the flame effect better visibility from your couch — right where it matters most.
Here’s a quick breakdown of what you’ll need for the platform:
- Two 1×8 boards cut to span the width of your media center
- Three to four 2×6 boards for the top surface
- Wood glue and 1¼-inch brad nails for assembly
- Sandpaper (120-grit) to smooth all edges
This platform does double duty. It gives you extra display space for decorative items like lanterns, books, or potted plants. When you build media center with fireplace insert elevated on a hearth, the visual impact is dramatic. The whole unit looks more authentic, more polished, and way more expensive than it actually is. Now let’s move on to finishing techniques that’ll make this beauty shine.
Finishing Techniques for Your Homemade Electric Fireplace TV Stand
You’ve built something beautiful — now let’s make sure it looks beautiful. The finishing stage is where raw lumber turns into a stunning piece of furniture. Think of it as the makeup tutorial for wood. A rushed finish can ruin weeks of work, so take your time.
Proper Sanding and Wood Preparation
Start by filling every nail hole, gap, and imperfection with quality wood filler. Use Minwax or DAP products — they dry fast and sand smooth. Apply multiple coats if needed, letting each layer dry completely before moving on.
Grab your 120-grit sandpaper and sand the entire project following the wood grain direction. Never go against the grain unless you enjoy visible scratches. Once done, vacuum every speck of dust from your piece and work surface. Wipe everything down with a damp cloth for a spotless canvas.
Staining or Painting Your Media Console
Before committing to a color, test your stain or paint on a hidden area or scrap piece. This step in your custom fireplace entertainment center tutorial saves you from ugly surprises. Here’s a quick comparison of popular finish options:
| Finish Type | Best For | Dry Time | Coats Needed |
|---|---|---|---|
| Oil-Based Stain | Rich, deep tones | 8–12 hours | 1–2 |
| Water-Based Stain | Quick projects | 2–4 hours | 2–3 |
| Chalk Paint | Farmhouse style | 1–2 hours | 2–3 |
| Latex Paint | Solid color coverage | 2–4 hours | 2–3 |
Use a wood conditioner or primer before applying your chosen finish. This ensures even absorption and prevents blotchy results — before applying your chosen finish.
Applying Protective Sealants and Topcoats
Your TV stand with fireplace woodworking project needs protection from heat, spills, and daily wear. I swear by water-based polyurethane for durability without yellowing. Apply two to three thin coats, sanding lightly with 220-grit between each layer.
Let the final coat cure for at least 48 hours before placing your electric insert. Patience here means your custom fireplace entertainment center tutorial results in a piece that lasts for years — not months.
Installing the Electric Fireplace Insert or Alternative Lighting
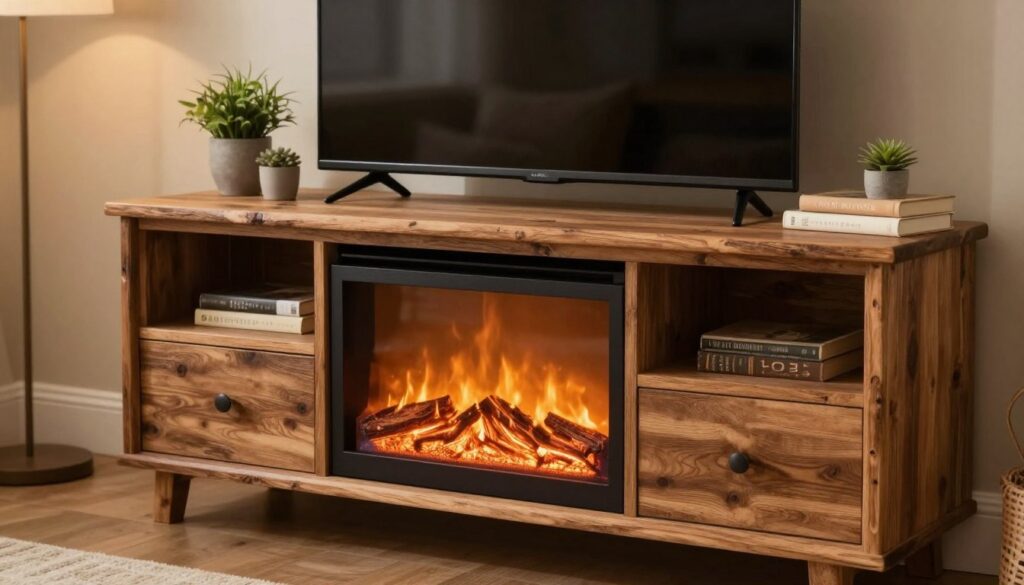
This is the moment I’ve been waiting for — bringing the flames to life. Whether you choose a premium electric insert or a DIY option, your homemade electric fireplace TV stand will shine. Let’s explore both options to find the best fit for your budget and style.
Wiring Considerations and Safety Precautions
For an electric insert like the Touchstone Sideline 50, you need a 120V outlet inside the cabinet. If you’re not sure about wiring, consider hiring a licensed electrician. Safety is key when building your own fireplace TV cabinet.
Remember these important tips:
- Leave at least 2-3 inches of clearance around the insert for proper ventilation
- Never use an extension cord — plug directly into a wall outlet
- Install a surge protector to guard your investment
- Verify your insert is UL-listed or ETL-certified before purchasing
The Touchstone Sideline 50 fits easily into the opening and comes with mounting brackets. It stays cool, making it ideal for a homemade electric fireplace TV stand where heat damage is a concern.
Creative Alternatives Using LED Lights and Flameless Candles
Not ready to spend $400+ on an electric insert? That’s okay. You can create a stunning fireplace TV cabinet on a budget.
| Alternative Option | Estimated Cost | Ambiance Level | Difficulty |
|---|---|---|---|
| Flameless candle arrangement | $15–$30 | Warm and cozy | Easy |
| Lighted log set with LEDs | $25–$50 | Realistic glow | Easy |
| Real firewood + LED string lights | $10–$20 | Rustic charm | Easy |
My favorite trick? Stack a few split birch logs inside the opening and weave warm-white LED fairy lights through them. It’s ridiculously charming — and your finished piece will be ready for the final reveal.
Conclusion
I hope this guide made building a TV stand with a fireplace seem less daunting and more thrilling. From choosing lumber to installing the electric insert, each step brings you closer to a piece of furniture that looks like it cost a lot. The best part? You built it yourself with basic tools and materials from your local Home Depot or Lowe’s.
This project gives you a lot for your money. You get hidden storage, a cozy fireplace glow, and a sturdy base for your TV all in one. If you chose the double-sided cabinet design, you also got a stylish room divider that does double duty.
Building a TV stand with a fireplace isn’t hard. You need intermediate woodworking skills, some pocket hole joinery, and a weekend or two of work. Your living room just got a big upgrade, and you’re the one who did it.
So grab your remote, light up the electric insert, and enjoy the view. This fireplace media console is now the heart of your home. And nobody needs to know it started as a pile of 1×12 boards in your garage.
How much does it cost to build a TV stand with fireplace compared to buying one?
Do I absolutely need a Kreg Jig to complete this fireplace TV console construction?
Can this TV stand safely support a large modern television?
What are the best faux fireplace alternatives if I don’t want to buy an electric insert?
What fireplace TV stand building materials do I need for the back panel?
How do I build the optional hearth platform for a more authentic look?
Can I use this design as a room divider, and how does the double-sided option work?
What type of hinges should I use for the storage doors?
What’s the best finish for a homemade electric fireplace TV stand?
What are the exact dimensions I need for cutting the main structural pieces?

giveitlegs@live.com
Contributing writer covering Honest reviews & buying help for fireplace TV stands and electric media consoles..