How to Make a Fireplace TV Stand That Wows
Affiliate links — we may earn a commission
Last winter, I stood in my living room, looking at a blank wall. It felt like a hospital waiting room. I wanted warmth and character.
I wanted a custom fireplace media center that would impress everyone. I called a local builder for a quote. He said it would cost $5,000. That’s when I decided to make one myself for less.
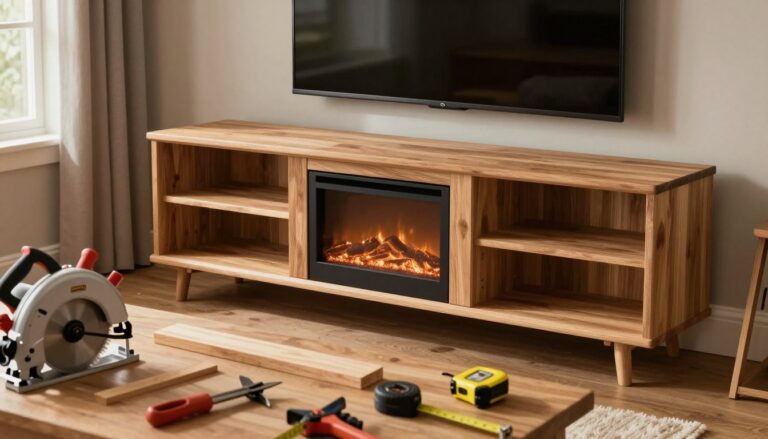
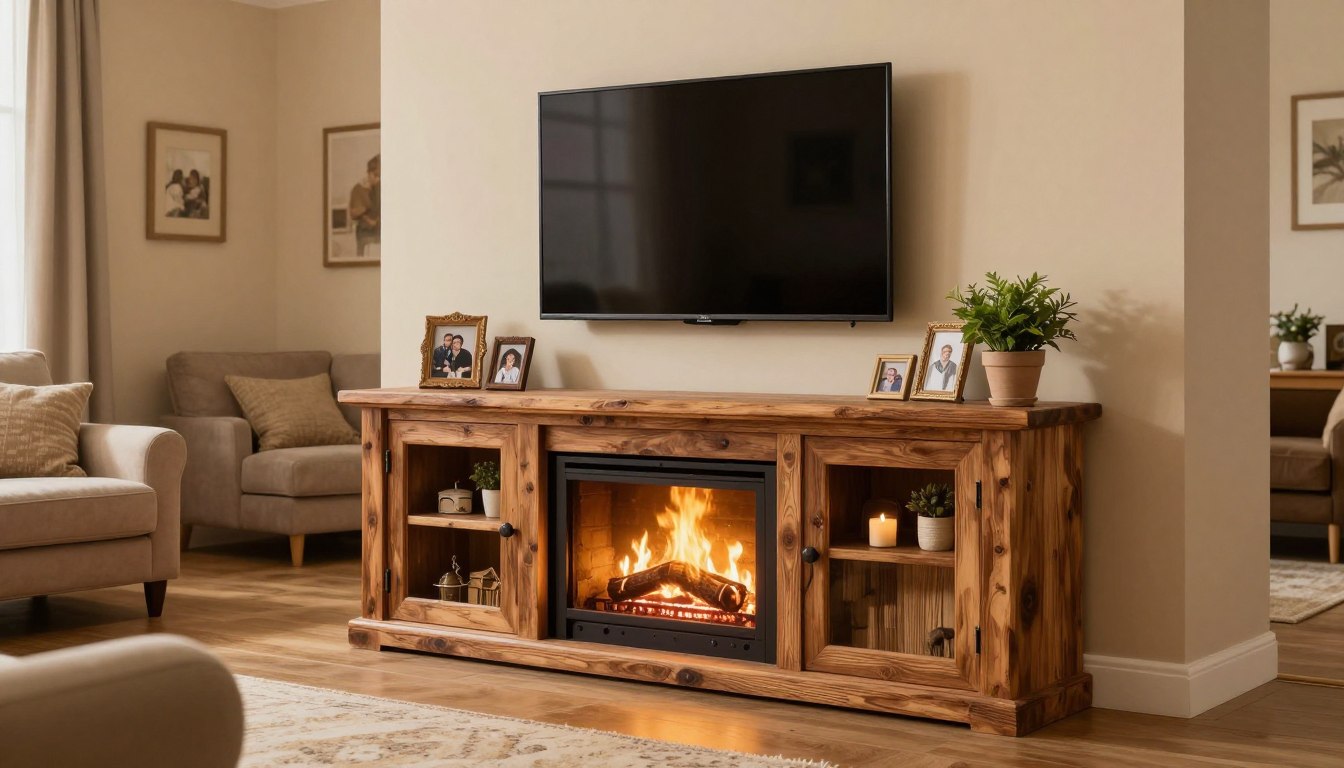
I managed to make it for under $500. The key was a vintage mantel I found on Craigslist for $100. It was from a 1916 home in Charlotte.
The electric fireplace insert I chose heats up the room nicely. I add cedar-scented incense for a cabin smell. My DIY project turned my living room into a cozy spot.
If your living room needs some personality, follow along. I’ll guide you through every step of making a fireplace TV stand.
Key Takeaways
- Building a custom fireplace media center yourself can cost under $500 — a massive savings compared to a contractor’s $5,000 quote.
- Vintage mantels from sites like Craigslist add authentic character that new materials simply can’t replicate.
- Electric fireplace inserts provide real heat output, making them practical for shoulder seasons and cold mornings.
- Learning how to make a fireplace tv stand is achievable for intermediate DIYers with the right tools and a solid plan.
- Cedar-scented natural wood incense paired with your electric insert creates a surprisingly realistic fireplace experience.
- Smart DIY fireplace tv stand plans can turn any builder-grade home into a space that feels custom and inviting.
Why I Ditched Store-Bought for a DIY Fireplace TV Stand Adventure
Sometimes, life pushes you into projects you never planned. That’s what happened when I decided to build a fireplace TV console. It was the only sane option after sticker shock, toddler destruction, and a lucky Craigslist find. My fireplace TV stand woodworking project turned out to be the best decision I ever made.
The $5,000 Quote That Changed Everything
I called a local builder for a simple fireplace installation. The quote? Five thousand dollars. My jaw dropped. That number made me decide to build a homemade electric fireplace stand. The savings made every splinter worth it.
My Journey from DVD-Dumping Toddler Chaos to Cozy Living Room Bliss
My toddler treated our open media shelves like a demolition zone. DVDs scattered everywhere daily. Store-bought units had exposed shelves that didn’t help. They were also too bulky for our small house.
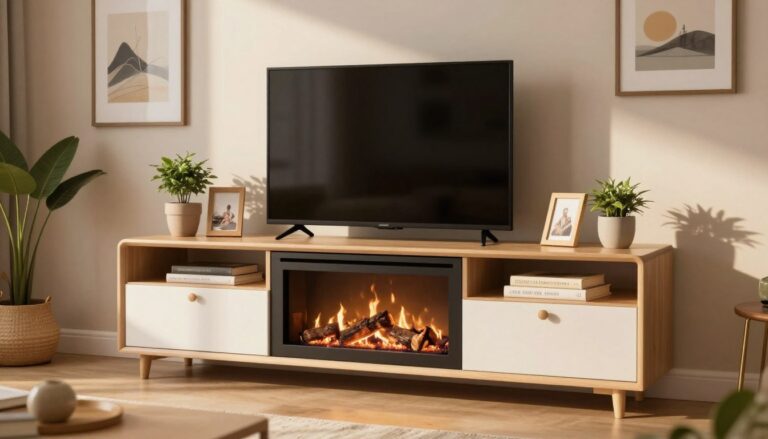
I needed enclosed storage that could survive my toddler’s rampage. A fireplace TV stand with doors and hidden compartments was the answer to my prayers.
Finding Hidden Gems: Scoring Vintage Mantels for Your Project
My favorite trick is finding vintage mantels from house demolitions in Charlotte. I got one on Craigslist for $100. It gave my homemade electric fireplace stand an authentic look that no big-box store could match.
I also found another money-saving hack while building fireplace TV console components:
| Approach | Cost | Benefit |
|---|---|---|
| Buy electric insert alone | $200–$400 | Just the firebox, no surround |
| Buy complete store-bought unit | $150–$300 | Cheaper than insert; resell surround on Craigslist |
| Hire a builder | $3,000–$5,000+ | Professional finish, massive price tag |
| Full DIY build with vintage mantel | $250–$500 | Custom fit, unique character, enclosed storage |
Buying a complete unit and reselling the surround parts often costs less than purchasing the insert by itself. With my materials sourced, it was time to gather the right tools and lumber — which is exactly what comes next.
Essential Tools and Materials for Building Your Fireplace Entertainment Center
Before I started, I had to gather my tools. Building a fireplace entertainment center needs the right equipment. Skipping this step is like going to a sword fight with a butter knife — it’s not fun.

Power Tools That’ll Make You Feel Like a DIY Superhero
Every fireplace TV cabinet project needs the right power tools. Here’s what I got from my garage and borrowed from my neighbor:
- Circular saw — for ripping plywood sheets down to size
- Miter saw — for clean, angled cuts on trim and molding
- Jigsaw — for curved cuts around the firebox opening
- Power drill — because hand-twisting 200 screws is nobody’s idea of fun
- Kreg Jig — for pocket hole joinery that holds like a grudge
- Pin nailer — for tacking pieces in place while glue dries
- Router table — essential for the frame-and-panel details coming up later
The Plywood and Lumber Shopping List That Won’t Break the Bank
My DIY media console needed a lot of wood. I used select pine for visible areas and common pine for parts that would be painted.
| Material | Quantity | Purpose |
|---|---|---|
| 3/4″ Plywood Sheets | 3 | Carcass, top, and shelving |
| 2×4 Boards | 9 | Hearth framing and structure |
| 1×3 and 1×4 Pine | 6 each | Face frames and trim |
| 1×5, 1×6, 1×12 Pine | 2-3 each | Side panels and mantel details |
| 1/4″ Plywood | 1 sheet | Raised panel inserts |
Secret Weapons: Piano Hinges and Glass Door Retainer Clips
The right hardware makes everything look great. I got a piano hinge for a hidden panel, glass door clips, and a custom-cut glass piece. I also got pocket screws, wood screws, drywall screws, pin nails, and wood glue.
“Buy 10% more material than you think you need. You’ll thank yourself at 9 PM on a Saturday when the hardware store is closed.”
With all my tools ready, I was set to start measuring. And that’s where things get really interesting.
How to Make a Fireplace TV Stand with Perfect Measurements
Let me be blunt: measurements will make or break this entire project. I learned the hard way by cutting first and crying second. So, grab your tape measure, a pencil, and your reading glasses. We’re getting precise.
Start by centering your unit on the wall. An off-center fireplace TV stand looks like a crooked picture frame at Grandma’s house. Mark the wall’s midpoint and work outward from there.
Your mantel dimensions drive everything else. When building furniture with fireplace elements, go big or go home. A small unit in a large room looks like a dollhouse prop. Choose an oversized statement piece that commands attention. Your hearth should extend 8 inches longer than your total mantel width on each side for visual balance.
The electric insert is where precision really matters. Most DIY fireplace tv stand plans skip this critical detail. Here are the spacing specs I used for my insert:
| Measurement Area | Required Spacing |
|---|---|
| Top opening clearance | 2-3/4 inches |
| Bottom opening clearance | 4-3/4 inches |
| Glass opening dimensions | 3-1/4 x 23-3/8 inches |
Use scrap wood as spacers when positioning your insert. This keeps everything square while you secure it in place. One more thing — leave threshold space at the bottom of your firebox door. Without it, the surround will bow outward over time. Trust me, warped wood is not the rustic charm you’re going for.
“Measure twice, cut once” isn’t just a cute saying — it’s the only thing standing between you and an expensive pile of firewood.
With your measurements locked in, you’re ready to build the hearth base that supports the entire structure.
Creating the Rock-Solid Foundation: Building Your Hearth Base
Every great fireplace tv stand woodworking project starts from the ground up. The hearth base is the unsung hero of your build. It’s not noticed, but everything depends on it. I spent a lot of time on this step, and my custom fireplace media center is rock-solid because of it.
Framing Techniques for a Sturdy Platform
I used standard 2×4 lumber to build my hearth frame. The two long pieces should be cut about 8 inches longer than your mantel width. Short connector pieces at 24 inches bridge the gap between them.
The assembly order matters more than you’d think:
- Nail the long side pieces to both end connectors first
- Attach the center connector piece
- Fill in the remaining middle supports
- Secure the back frame directly into wall studs
For the top surface, I cut a sheet of plywood using a circular saw set to a shallow blade depth. This gave me a clean, precise cut every time. Position the finished platform flush against the wall at your room’s center point.
A level hearth base is the difference between a professional-looking build and something that screams “I watched one YouTube video.”
Anchoring Without Destroying Your Floors
Here’s the best news about building fireplace tv console projects this size: you probably don’t need floor anchors. The sheer weight of the completed unit keeps everything locked in place.
If you have carpet, grab a box cutter and trim it beneath the frame. This trick lets you install hardwood floors later and cover the edges with quarter round trim. No permanent damage, no landlord drama, no regrets.
| Floor Type | Anchoring Method | Reversible? |
|---|---|---|
| Carpet | Cut carpet beneath frame; weight holds unit | Yes |
| Hardwood | Felt pads under frame; back nailed to studs | Yes |
| Tile | Rubber grip pads; wall-stud attachment | Yes |
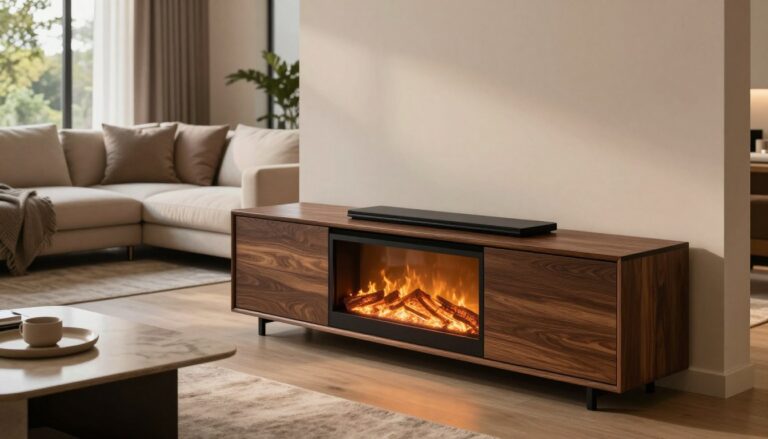
With a solid hearth base in place, you’re ready to tackle the faux firebox. This part gives your custom fireplace media center its real wow factor.
Mastering the Art of the Faux Firebox with Hidden Storage
My homemade electric fireplace stand turned into a magic trick. It hid all the ugly cables. The firebox area is not just for looks. It’s a secret spot for cable boxes, streaming devices, and all those messy cords.

I built a door frame using plywood strips attached to the mantel surround. This frame holds the surround pieces in place and makes a clean opening for the glass panel door. For my step by step fireplace tv cabinet, I cut a piano hinge to exact size with a hacksaw. Pro tip: measure twice, cut once, and wear safety glasses unless you enjoy metal shavings in your eyes.
“The best furniture hides the mess while showing off the beauty.”
The door measurements left a small gap at the bottom. This gap lets air flow and cables pass through without being seen. I used a jigsaw for precise corner cuts on the door panel — no rough edges allowed in this DIY media console with fireplace insert.
Inside the firebox, I attached 2×4 blocks to the hearth base. These blocks secure the bottom piece right under the door opening, giving everything a solid feel. I ran an outlet inside the compartment so devices stay powered without cords snaking across the floor.
Here’s a quick breakdown of what went into this phase:
- Plywood strips fastened with drywall screws to anchor the surround
- Piano hinge trimmed to fit the door frame exactly
- Jigsaw cuts for tight, clean corners on the door panel
- 2×4 blocks inside the firebox for bottom-piece support
- Hidden outlet for cord management behind the glass
With the firebox and hidden storage done, it’s time to focus on the frame-and-panel sides. These will give this piece a professional-grade look.
Constructing Frame-and-Panel Sides Like a Pro Woodworker
Now that your firebox is ready, it’s time to add some style to your fireplace entertainment center. Frame-and-panel sides are key to making it look like a pro built it. This step is simpler than it seems.
Router Table Magic for Authentic Details
Your router table is your best friend when making a fireplace tv stand. Use a straight-cutting bit to make clean grooves in your stile and rail pieces. These grooves hold floating quarter-inch plywood panels that move with the seasons without cracking.
Here’s what you need for your frame pieces:
| Component | Lumber Size | Quantity Per Side |
|---|---|---|
| Stiles (vertical pieces) | 1×3 | 2 |
| Top Rail | 1×3 | 1 |
| Bottom Rail | 1×4 | 1 |
| Center Panel | 1/4″ plywood | 1 |
The Cheater’s Guide: Solid Panel Alternatives
Not everyone has a router table, and that’s okay. You can build furniture with fireplace features without fancy tools. Use a 1×12 board and glue up a solid panel for a sturdy side without any routing.
“The best woodworking project is the one you actually finish — not the one that sits half-done in your garage for three years.”
Pocket Hole Joinery That’ll Make You Look Like a Genius
My Kreg Jig was a lifesaver during this stage. I drilled pocket holes into the ends of each stile and connected them with 1-1/4 inch pocket screws. Remember these tips:
- Right and left side assemblies need mirrored pocket hole placement
- Always face pocket holes toward the interior of your unit
- Clamp pieces flush before driving screws
Getting pocket hole placement right hides your seams. Your guests will think you’re a master carpenter, and you won’t have to correct them.
Adding Architectural Details: Molding, Plinth Blocks, and Crown Glory
This is when your fireplace tv stand woodworking project really shines. Molding and plinth blocks add depth, making it look like it’s from Architectural Digest. After building the sides, it’s time to add the charm.
I began with plinth blocks. These are four 1×4 pieces glued together into two solid blocks. I placed them inside the front assembly and secured them with 2-inch wood screws. This gives your custom media center a classic look.
Bed Molding Installation Without Losing Your Mind
Here’s a trick to save your sanity: place bed molding upside down in your miter saw. Set the ceiling edge flat on the table. This angle helps you get clean, accurate cuts every time.
- Cut the end pieces at 45-degree angles first
- Attach them with wood glue and 1-inch pin nails
- Cut the center piece with matching angles
- Dry-fit before committing to the final attachment
Most DIY plans skip this detail. Don’t. A test fit catches mistakes before they’re permanent.
Creating Visual Interest with Cove Molding Accents
Cove molding sits on top of each plinth block. It uses the same installation as bed molding. Be careful with small molding pieces. Keep your fingers away from the blade and use a push stick.
The difference between furniture and a box is three dollars’ worth of molding and thirty minutes of patience.
These architectural touches make your custom media center look professionally made. Next, the finishing process will bring out the beauty of the woodwork.
The Finishing Touches That Transform Wood into Wow
This is where your homemade electric fireplace stand goes from “nice woodworking project” to “wait, you built that yourself?!” Start by sanding every surface with 120-grit, then move up to 220-grit. Skipping grits is like skipping leg day. Everyone notices.
When building fireplace tv console projects, you’ve got two main finish paths. Here’s how they compare:
| Finish Type | Steps Required | Best For | Dry Time |
|---|---|---|---|
| Stain + Clear Topcoat | 1 stain coat + 2 polyurethane coats | Showcasing wood grain | 24–48 hours total |
| Primer + Paint | 1 primer coat + 2 paint coats | Modern or farmhouse looks | 12–24 hours total |
My favorite trick in this build is the glass panels. Use retainer clips to hold the glass in place. For something really special, sandwich decorative fabric between two glass layers. Spray paint the inner pane with Rust-Oleum Mirror Effect for a stunning faux mercury glass look. Most Lowe’s locations cut glass to your exact specs for just a few bucks.
Drop in your electric insert following the manufacturer’s guidelines. Every brand is a little different, so read the manual. I know — revolutionary advice. For that extra touch of cozy magic, toss a natural cedar-scented wood incense near the unit while it runs. The warm glow paired with that subtle campfire smell? Pure ambiance.
- Sand in the direction of the grain — always
- Apply stain with a lint-free cloth for even coverage
- Let each coat dry fully before adding the next
- Buff lightly with 320-grit between topcoat layers
With these finishing details locked in, your homemade electric fireplace stand is ready to steal the spotlight. All those molding and architectural details from the previous steps now pop with a polished, professional look that screams custom furniture — not weekend project.
Conclusion
I turned a $5,000 quote into a sub-$500 fireplace entertainment center. I used tools most DIYers already have. A miter saw, a drill, and a Kreg Jig were key.
The hidden storage behind the faux firebox keeps cables and electronics hidden. This keeps your living room looking neat and tidy.
This DIY media console is super flexible. The firebox opening is ready for a gas insert upgrade when you’re ready. You can place it in any room, and it looks custom.
Building furniture with fireplace features is easier than it sounds. You just need basic woodworking skills and to measure twice. I’ve shared free downloadable plans with all the measurements and steps. So, you can avoid my mistakes.
Go build something that will impress your neighbors. Show them you made it yourself.
How much does it cost to build a DIY fireplace TV stand compared to hiring a professional?
What essential power tools do I need for building a fireplace TV console?
Can I build a custom fireplace media center without advanced woodworking skills?
Where can I find a vintage mantel for my homemade electric fireplace stand?
Do electric fireplace inserts actually produce heat, or are they purely decorative?
How do I handle cord management and electronics storage in a DIY media console with fireplace insert?
Is it cheaper to buy a complete fireplace unit or just the insert for building furniture with fireplace features?
What are the critical measurements for the electric insert opening in DIY fireplace TV stand plans?
Can I install this fireplace TV stand on carpet, and do I need to anchor it to the floor?
Can I upgrade this DIY build to a real gas fireplace later?
What finishing options work best for a homemade electric fireplace stand?
Where can I place a fireplace entertainment center beside the living room?
giveitlegs@live.com
Contributing writer covering Honest reviews & buying help for fireplace TV stands and electric media consoles..