How to Build Your Own Electric Fireplace TV Stand
Affiliate links — we may earn a commission
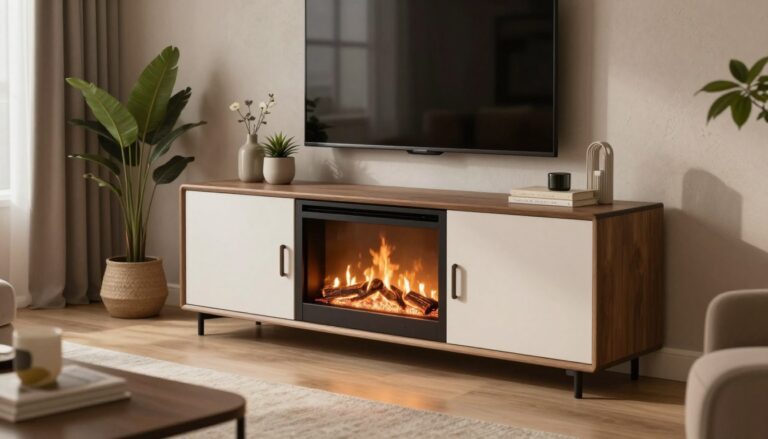
Last winter, I stood in my living room, looking at a cold, empty wall. My old TV stand was falling apart. The shelves were sagging, and one door was gone. I wanted something warm and cozy.
I looked at Wayfair and Pottery Barn for an electric fireplace TV stand. But the prices shocked me. Three thousand dollars for something made of pressed wood and an LED light? No way.
I decided I could do better. I wanted something that fit my space, style, and budget. So, I started looking into building my own electric fireplace TV stand.
What I found was amazing. You don’t need an expensive insert for a cozy fireplace look. Flameless candles, lighted log sets, or simple LED strips can give you that warm glow. And it cost me a lot less than buying one.
In this guide, I’ll show you how I built my DIY electric fireplace TV stand. I’ll share the tools I used, the mistakes I made, and the tips that saved me time. This project is easy, no matter if you’re a weekend warrior or a beginner.
So, grab a pencil, clear out your garage, and let’s make something amazing.
Key Takeaways
- You can build a stunning 72-inch electric fireplace TV stand using off-the-shelf lumber and basic power tools.
- Skip the pricey fireplace inserts — flameless candles and LED log sets create the same cozy effect for less.
- DIY electric fireplace TV stand plans let you customize dimensions to fit your exact living room layout.
- This project can save you well over $2,000 compared to buying a similar console from major retailers.
- The build combines media storage, cable management, and faux fireplace aesthetics in one piece of furniture.
- No advanced woodworking experience is required — just patience, a plan, and the right materials.
Why I Decided to Build My Own Electric Fireplace Entertainment Center
I spent weeks looking for the perfect media console. But every option was too expensive, the wrong size, or just didn’t fit my style. So, I decided to build my own using a custom electric fireplace entertainment center tutorial.
The Cost Savings of DIY vs Store-Bought
My wallet was a big reason for choosing DIY. Fireplace TV stands from brands like Dimplex or Real Flame cost between $800 and $2,500. But, I spent only about $350 on materials for my project. That’s a huge savings.
| Expense Category | DIY Build Cost | Store-Bought Average |
|---|---|---|
| Lumber and Boards | $120 | Included |
| Electric Fireplace Insert | $150 | Included |
| Hardware and Finishing | $80 | Included |
| Total | $350 | $800–$2,500 |
Customizing to Fit My Space Perfectly
My living room has an odd alcove that standard units can’t fit. Building my own TV stand with an electric fireplace insert let me design it perfectly. I also added secret spots for controllers, books, and DVDs, which you don’t often find in store-bought furniture.
“The best piece of furniture is the one built to fit your life, not the other way around.”
The Satisfaction of Creating Something Unique
There’s a unique pride in saying, “I built that.” This project gave me the confidence to create something special for my home. Once built, the unit fits perfectly without any complicated setup.
With my tools and materials ready, it was time to start my project.
Essential Tools and Building Materials List for Your Fireplace TV Console
Before starting, make sure you have all the materials. A trip to the hardware store can ruin your flow. I learned that the hard way. Let me help you avoid that.
Must-Have Power Tools for the Project
A miter saw and a drill are key. I used a Kreg Jig for pocket holes, making the project easy. If you don’t have one, 2-inch screws or brad nails with wood glue work well.
Lumber and Board Specifications
Here’s what you need to buy:
| Material | Size | Quantity |
|---|---|---|
| Select pine board | 1×12 × 8 ft | 3 pieces |
| Select pine board | 1×12 × 10 ft | 1 piece |
| Select pine board | 1×3 × 10 ft | 1 piece |
| Select pine board | 1×6 × 5 ft | 1 piece |
| Select pine board | 1×2 × 8 ft | 1 piece |
| Medium crown moulding | Under 1-3/4″ W × 2-1/2″ H | 8 feet |
| Base moulding | 5-1/4″ profile | 8 feet |
| Plywood backing (optional) | 1/4″ × 4×8 sheet | 1 sheet |
Hardware and Finishing Supplies
You’ll need small items too. Get 1-1/4″ pocket hole screws, brad nails, wood glue, and Euro Style hinges. These hinges make your doors look built-in.
Choosing the Right Electric Fireplace Insert
I chose the Touchstone Sideline 50 Electric Fireplace. It fits easily without complicated setup. Its design makes building simple.
“Buy once, cry once. Cheap inserts flicker like a dying flashlight. Invest in quality.”
Now you’re ready to plan your custom build.
Planning Your Custom Electric Fireplace TV Stand Dimensions
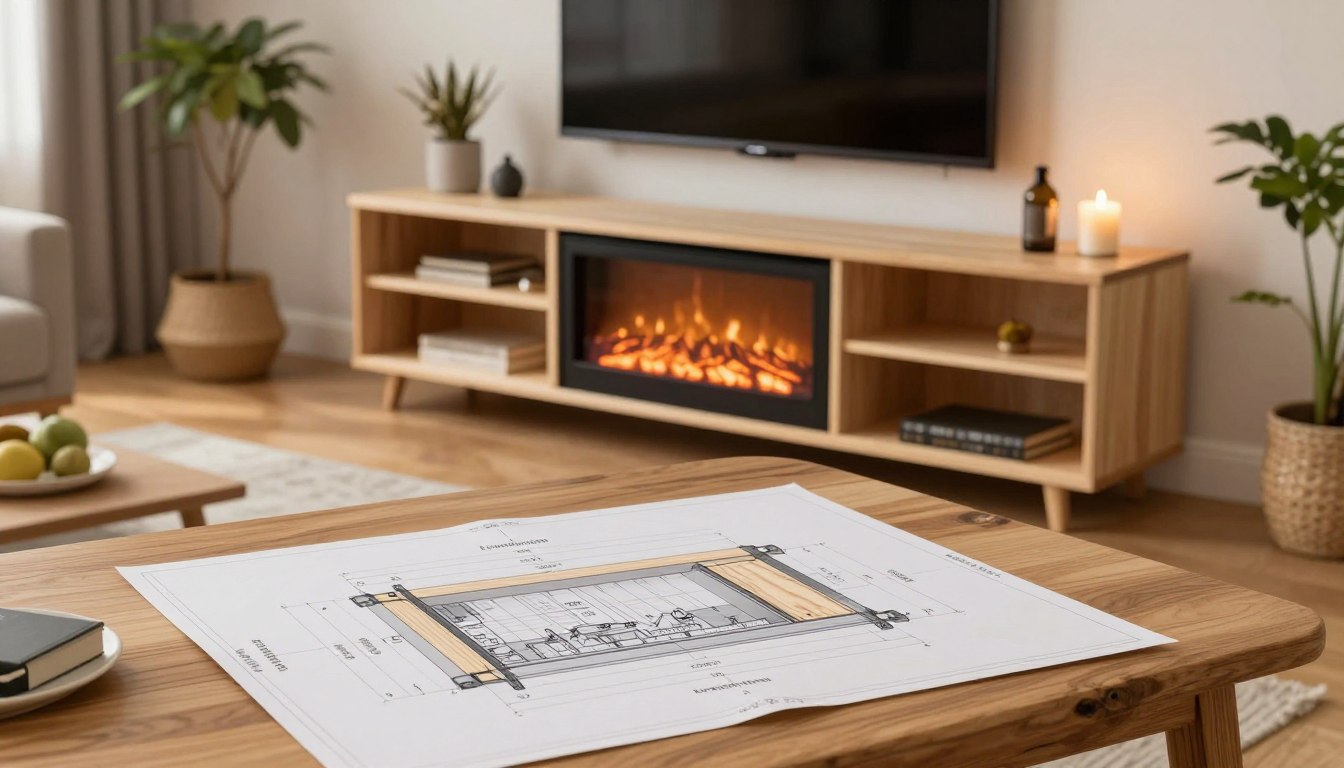
Measuring and re-measuring took up most of my time. Getting the dimensions right is key to a beautiful piece or a useless firewood rack.

I started by drawing out all my measurements on paper. The top piece is 57-1/2 inches wide, perfect for TVs up to 65 inches. The side panels are 39-1/4 inches tall, ideal for viewing from a sofa.
The bottom shelf is 52-1/2 inches wide, fitting neatly between the sides.
For the electric fireplace media cabinet, I set dividers at 33-3/4 inches. There’s a center divider at 31-1/2 inches. This makes three zones: two side compartments for storage and one center opening for the fireplace insert.
| Component | Width | Height |
|---|---|---|
| Top Piece | 57-1/2″ | — |
| Side Panels | — | 39-1/4″ |
| Bottom Shelf | 52-1/2″ | — |
| Top Header | 57-1/2″ | — |
| Bottom Header | 54″ | — |
| Footer | 54″ | — |
| Side Doors | — | 31″ |
| Center Door | — | 31-1/4″ |
| Optional Back Panel | 54″ | 40″ |
I added an optional back panel, 54 inches by 40 inches. It hides wiring and makes the piece look finished. The DIY media console was designed to fit a standard 36-inch fireplace insert perfectly.
Measure twice, cut once — and triple-check your fireplace insert specs before committing to any cuts.
With my measurements set, I felt ready to start building. The next step was cutting lumber and building the main cabinet frame. This is where all the planning pays off.
How to Build Your Own Electric Fireplace TV Stand
Building your own electric fireplace TV stand is like solving a giant puzzle. You get to cut the pieces yourself. I divided the build into four stages. Each stage brought me closer to a piece of furniture I’m proud of.
Constructing the Main Cabinet Frame
I began with 1×12 boards for the frame. A Kreg Jig made pocket hole joinery quick and strong. I drilled holes, applied glue, and screwed them together. This method keeps the joints hidden, making the outside look clean.
Adding Dividers and Storage Compartments
I cut 33-3/4″ pieces for the outer sides and a 31-1/2″ center divider. These pieces create separate areas for game consoles, cable boxes, and media players. My TV stand needed to hold a lot of gear, so I planned each section carefully.
Installing Crown Moulding and Base Trim
Flat 1x board trim went on top first. Then, I added crown moulding for a polished look. Base moulding framed the bottom. These details make the unit look like it cost a lot.
A piece of furniture is only as impressive as its trim work.
Creating the Fireplace Opening
The center compartment is framed to fit the electric fireplace insert. I measured carefully to ensure a perfect fit. Inspired by Jon Peters, I made it a double-sided cabinet. This makes it a great room divider.
- Use pocket holes for invisible joints
- Dry-fit every piece before gluing
- Sand all surfaces to 220 grit before assembly
- Check for square at every stage
Building Cabinet Doors with Hidden Storage Features
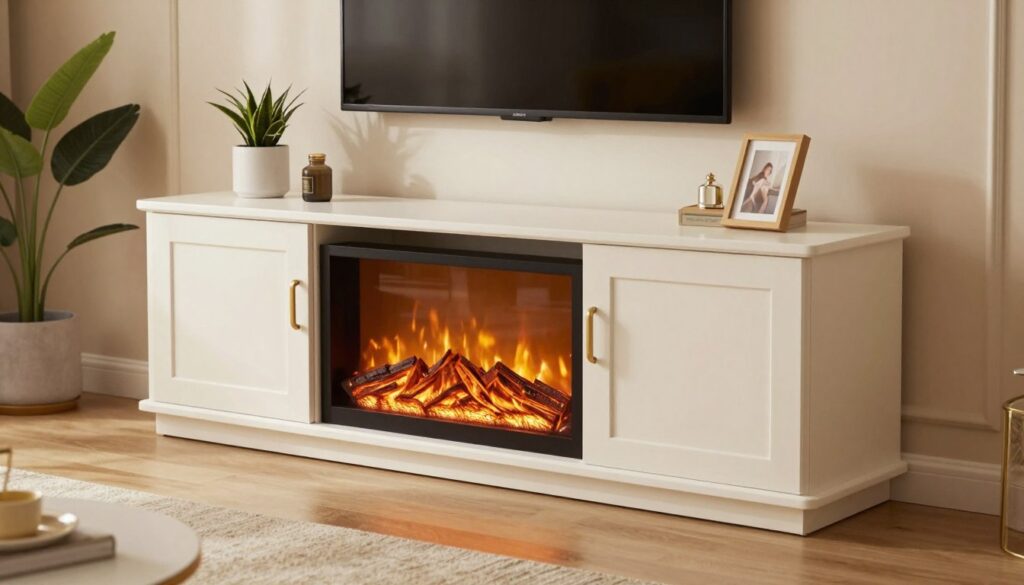
Building a TV stand with an electric fireplace insert is great. But, what’s even better is adding hidden storage behind beautiful doors. This turned my console into a stunning piece that looks like it’s from a catalog. I made three doors: two on the sides and one center flip-down panel. Each door hides storage for game controllers, DVDs, books, and media accessories.
Crafting Side Doors for Controller Storage
I made each side door from a single 1×12 board, cut to the exact height. To add a custom touch, I nailed decorative moulding to the front. This simple step adds depth and shadow lines, making the DIY stand look far more expensive.
“The details are not the details. They make the design.” — Charles Eames
Making the Center Flip-Down Door
The center door is below the TV shelf and flips down for easy access. I started with a 1×12 board and added 1×2 trim pieces on each side. A third 1×2 strip runs across the middle. This bracing prevents the panel from warping over time, a big concern with wider doors.
Installing Euro-Style Concealed Hinges
I chose non-mortise surface mount Euro-style concealed hinges for all doors. These hinges stay hidden when the doors close, giving a clean look. Here’s a quick overview of each door setup:
| Door Location | Material | Hinge Type | Storage Use |
|---|---|---|---|
| Left Side | 1×12 with moulding | Euro concealed, surface mount | Game controllers, remotes |
| Right Side | 1×12 with moulding | Euro concealed, surface mount | DVDs, books |
| Center Flip-Down | 1×12 with 1×2 bracing | Euro concealed, bottom mount | Media accessories, cables |
With doors installed, the TV stand with electric fireplace insert starts to feel real. Next, I’ll add the fireplace insert itself.
Installing Your Electric Fireplace Insert Like a Pro
This is the moment I’ve been waiting for in this custom electric fireplace entertainment center tutorial — the big reveal. After all that cutting, sanding, and assembling, sliding the insert into place feels like putting the cherry on a sundae you built from scratch.
I chose the Touchstone Sideline series for my build. It slid right into the framed opening like it was meant to live there. The flame display is stunning, and the unit runs on a standard 120V outlet. No gas lines. No chimney. Just plug it in and enjoy the glow.
“The best part about building your own furniture is that moment when everything clicks — literally and figuratively.”
What I love about this step-by-step fireplace TV console construction approach is the flexibility. My cabinet is completely portable. I can use it as a standalone piece, push it against a wall, or even position it as a room divider. Try doing that with a built-in masonry fireplace.
Not everyone wants to invest in an electric insert, and I respect that. Here are some budget-friendly alternatives that look great:
- Flameless LED candles arranged inside the opening for a cozy, safe ambiance
- Lighted log sets that mimic a real fire without any heat
- Stacked real firewood pieces paired with LED light strips tucked underneath for a warm glow
Each option works beautifully within this custom electric fireplace entertainment center tutorial framework. The opening dimensions stay the same regardless of what you place inside.
With the insert secured, the build is nearly complete. Up next, I’ll share some creative modifications and customization ideas that can take your console from great to jaw-dropping.
Creative Modifications and Customization Ideas
Once you’ve built the basics, it’s time to get creative. This is where electric fireplace media cabinet woodworking really shines. I found three tweaks that can elevate your project from “nice” to “did you seriously build that yourself?“
Adding a Raised Hearth Platform
A raised hearth adds a classic, built-in look. I used 1×8 boards as the base and 2×6 boards on top. Remember to skip the standard cabinet base trim for a seamless look. This design looks like it cost a lot, but it’s actually quite affordable.
Double-Sided Cabinet Design Options
This idea, inspired by Jon Peters, is mind-blowing. Build the cabinet as a room divider with the fireplace on one side and shelves on the back. It’s great for studio apartments or open-concept spaces. You get a cozy focal point and practical storage.
Alternative Finishing Techniques
Your finishing process is key. Here’s my routine for electric fireplace media cabinet woodworking:
- Fill every screw hole and nail dimple with quality wood filler
- Sand everything with 120-grit sandpaper, always following the grain direction
- Vacuum all sanding residue from every surface and crevice
- Wipe down with a damp cloth and let it dry completely before applying finish
A perfect finish starts long before you open the paint can — it starts with patient prep work.
Keep your fireplace TV stand building materials list nearby. Running out of sandpaper or wood filler mid-project is a nightmare. With these tweaks, you’re set to handle any final issues.
Troubleshooting Common DIY Media Console Challenges
My homemade TV stand with a built-in fireplace had its share of problems. Every woodworking project has its bumps, and this one was no different. Here are the main issues I faced and how I solved them.
Fixing Uneven Doors and Alignment Issues
Uneven cabinet doors scream “I built this in my garage.” The gaps were so bad, it drove me nuts. Euro-style concealed hinges were my savior. They adjust in three ways, ensuring perfect alignment without needing to re-drill holes.
“Measure twice, adjust three times, and pour yourself a coffee in between.”
Dealing with Wood Movement and Gaps
Wood changes size with humidity. I saw gaps at some joints after a week. Here’s what helped:
- Apply multiple coats of wood filler, sanding between each layer for a smooth finish
- Test your stain or paint on a hidden area first to check color and adhesion
- Use wood conditioner on softwoods like pine before staining to prevent blotchiness
Getting the dimensions right from the start helps avoid these problems. Accurate measurements reduce stress on joints, where movement causes the worst gaps.
Ensuring Proper Ventilation for Electronics
This is key for safety. Heat from gaming consoles and fireplace inserts can get trapped. I drilled holes in the back panel and added small fans. My TV stand stays cool, and my electronics don’t overheat.
| Issue | Quick Fix | Time Needed |
|---|---|---|
| Uneven doors | Adjust Euro-style hinges | 15–30 minutes |
| Visible gaps at joints | Wood filler + sanding | 1–2 hours (with drying) |
| Overheating electronics | Rear ventilation holes + USB fans | 30 minutes |
With these fixes, my build looks polished and professional. Now, let’s summarize what I learned from this project.
Conclusion
Building your own electric fireplace TV stand is like being a woodworking wizard. I created a stunning entertainment center for a 72″ TV. It hides my gaming gear and adds a cozy fireplace glow to my living room. And I did it all without hiring a contractor or selling a kidney.
This project is for those with some skill, but don’t worry if you’re not an expert. I’ve shared detailed steps and there are video tutorials to help. If you want plans, Jon Peters offers free PDFs through Touchstone Home Products. Just sign up with your email and you’re ready to go.
This project was hard work, but it was worth it. Every time I sit on my couch, I feel happy. The fire effect and TV light up, making me smile. Building it yourself means it fits your space, style, and budget. Now, go make some sawdust.
What are the best DIY electric fireplace TV stand plans for beginners?
What does the fireplace TV stand building materials list include?
What are the correct DIY media console with electric fireplace dimensions for a 72-inch TV?
Can I build a TV stand with electric fireplace insert without expensive tools?
How do I create a budget-friendly faux fireplace effect without buying an electric insert?
How do I handle door alignment issues when building a custom electric fireplace entertainment center?
What ventilation considerations matter for an electric fireplace media cabinet woodworking project?
Can this fireplace TV stand be used as a room divider?
What finishing steps are critical before painting or staining my homemade TV stand?

giveitlegs@live.com
Contributing writer covering Honest reviews & buying help for fireplace TV stands and electric media consoles..