How to Build a TV Stand with Fireplace in Easy Steps
Affiliate links — we may earn a commission
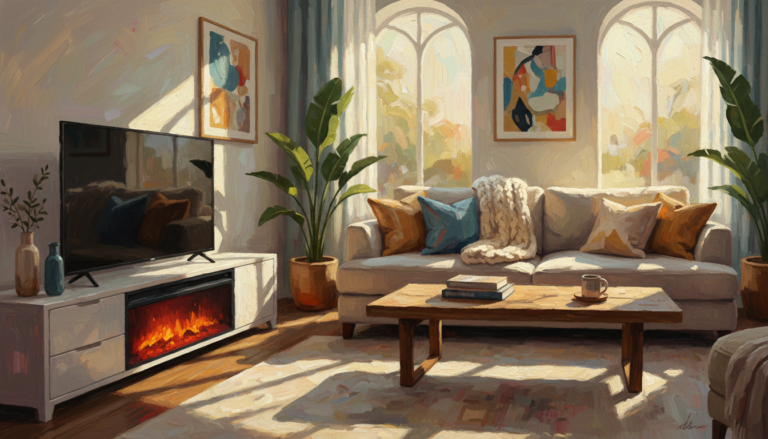
Last winter, I stood in my living room, looking at a bare wall and a TV on a shaky table. The room felt cold, not just in temperature but in spirit. I wanted warmth and something that made it feel like home. So, I looked at Wayfair and Pottery Barn for a fireplace TV stand. But the prices were too high, up to $2,000.
That’s when I decided to build a TV stand with fireplace myself. It was a great decision. I didn’t need a fancy woodworking shop or an engineering degree. Just basic tools and determination.
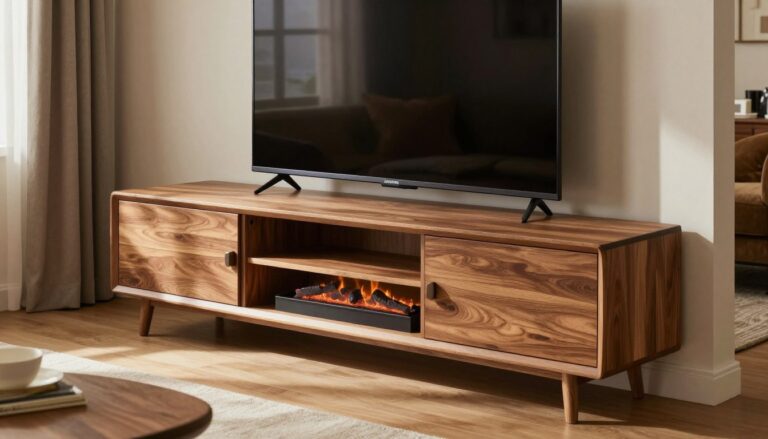
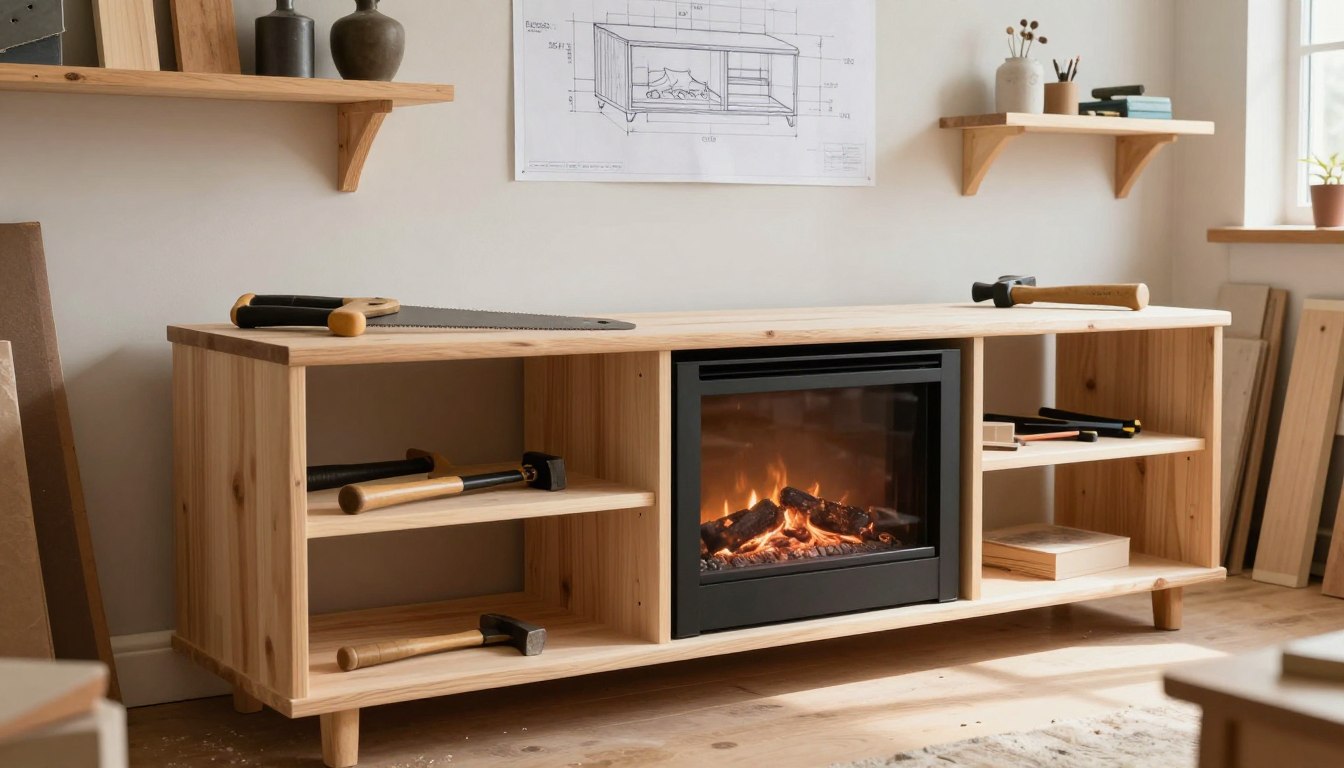
The 72-inch console I built fits my TV perfectly. It has hidden spots for remotes, books, and DVDs. The best part? You don’t need an expensive electric insert. I used LED lights behind real firewood, making it look like a real fire at first glance.
My DIY plans kept things simple. I used lumber from Home Depot. The total cost was under $200, much less than store units. Once built, it slides right into place against the wall.
If you want to create something beautiful with your hands, this project is for you. I’ll guide you through every step. You can make your own cozy centerpiece without spending a lot.
Key Takeaways
- You can build a 72-inch fireplace TV stand for under $200 using materials from stores like Home Depot or Lowe’s.
- No expensive electric fireplace insert is needed — flameless candles, LED lights, or lighted log sets work beautifully.
- The project requires only basic power tools and minimal woodworking experience.
- Hidden storage compartments keep controllers, books, and media neatly tucked away.
- The finished console is designed to move easily into place once fully assembled.
- DIY fireplace TV console plans let you customize the size, color, and style to match your room perfectly.
Why I Decided to Build My Own Fireplace TV Console
I spent weeks looking at prices online, and they were too high. I decided to build my own electric fireplace TV stand. It was about saving money, finding the right style, and being stubborn.
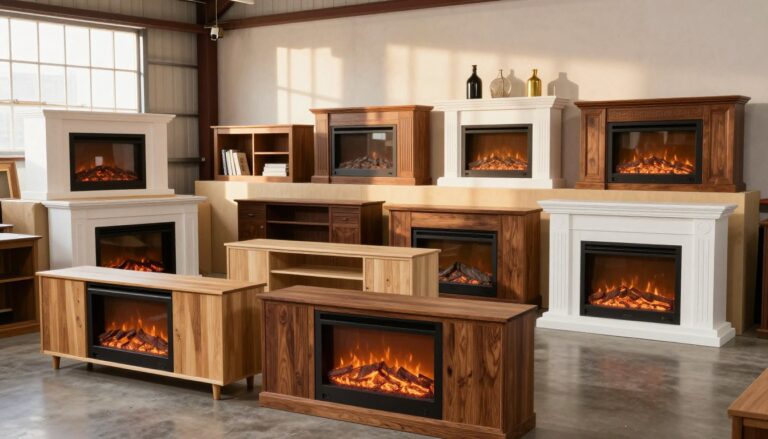
The Cost Benefits of DIY vs Store-Bought Units
Fireplace consoles from Walker Edison or Twin-Star cost $400 to over $1,200. But I built mine for under $300. I used basic lumber, an electric insert, and standard hardware.
| Expense Category | DIY Build | Store-Bought Unit |
|---|---|---|
| Materials & Lumber | $80–$120 | Included in price |
| Electric Insert | $100–$150 | Included in price |
| Hardware & Finish | $30–$50 | Included in price |
| Total Cost | $210–$320 | $400–$1,200+ |
Customization Options That Match My Living Room Perfectly
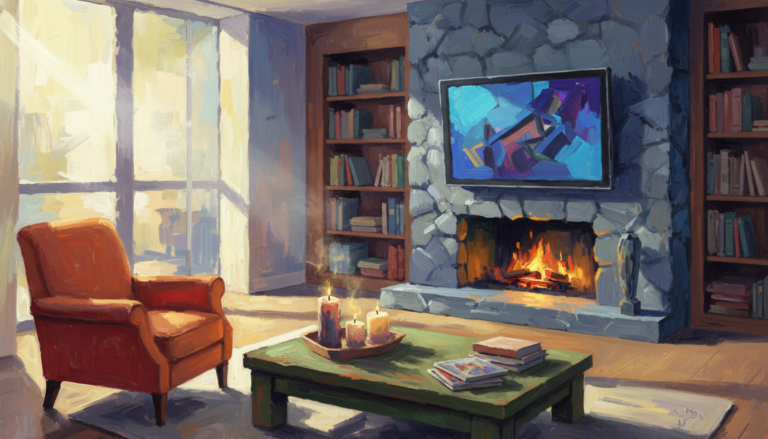
My living room has a 62-inch wall gap. No store-bought unit fit that space. I built my TV stand to fit perfectly. I even made it a room divider, with the fireplace facing forward and open shelves on the back.
- Custom width, height, and depth for any space
- Hidden storage compartments for remotes and cables
- Color and finish matched to existing furniture
The Satisfaction of Creating Something with My Own Hands
Building my media center with a fireplace gave me a unique sense of pride. It’s functional, beautiful, and I made it. That pride was worth all the hard work.
Essential Tools and Building Materials You’ll Need
Before starting, I had to gather all my tools and materials. It’s frustrating to stop mid-project for a trip to the hardware store. For my fireplace entertainment center woodworking project, I needed a specific list of tools, lumber, and finishing supplies. Here’s what you’ll need to shop for and build your project.

Basic Power Tools for the Project
You don’t need a big workshop for this project. A miter saw, drill, and brad nailer will do most of the work. I used a Kreg Jig for pocket hole joints, but you can also use 2-inch screws or brad nails with wood glue. A circular saw is a good, cheaper alternative to the miter saw.
Lumber Selection and Sizing Requirements
Choosing the right lumber is key for your custom TV stand fireplace combo. I chose common pine boards from my local home improvement store. Here’s what I bought:
| Board Size | Length | Quantity |
|---|---|---|
| 1×12 | 8 feet | 3 |
| 1×12 | 10 feet | 1 |
| 1×3 | 10 feet | 1 |
| 1×6 | 5 feet | 1 |
| 1×2 | 8 feet | 1 |
| 1/4″ plywood (optional backing) | 4×8 sheet | 1 |
“Measure twice, cut once — or in my case, measure three times because I don’t trust myself.”
Hardware and Finishing Supplies
For a polished look, I grabbed these essentials:
- 8 feet of medium crown moulding (under 1-3/4″ wide, 2-1/2″ tall)
- 8 feet of 5-1/4″ base moulding
- 1-1/4″ pocket hole screws
- 1-1/4″ and 1″ brad nails
- Wood glue
- 3 sets of Euro Style concealed hinges (non-mortise surface mount)
The Touchstone Sideline 50 Electric Fireplace fits perfectly in the custom TV stand fireplace combo. It’s sleek and drops right into the opening we’ll build next.
How to Build a TV Stand with Fireplace
This is where the fun really begins. I’m about to guide you through the core of this project — the assembly. Think of this as building a giant bookshelf that doubles as a fireplace. Grab your Kreg Jig, your 1×12 boards, and let’s get to work.
Creating the Basic Framework Structure
I started by cutting my 1×12 boards to size. The top piece is 57-1/2 inches, the sides are 39-1/4 inches, and the bottom shelf is 52-1/2 inches. I used pocket hole joinery for incredibly strong, hidden joints.
If you don’t have a Kreg Jig, 2-inch screws or brad nails with wood glue work well. This creates a sturdy rectangular frame for your TV console fireplace design.
“Measure twice, cut once — or measure once, cut twice, and make three trips to the hardware store.” That’s how my first project went.
Installing Interior Dividers for Storage Compartments
Next, I installed two vertical dividers at 33-3/4 inches and one center divider at 31-1/2 inches. These dividers create separate storage for media equipment, games, and cables.
| Component | Length | Purpose |
|---|---|---|
| Top Piece | 57-1/2″ | Upper frame support |
| Side Panels | 39-1/4″ | Vertical structure |
| Bottom Shelf | 52-1/2″ | Base support |
| Outer Dividers | 33-3/4″ | Side compartments |
| Center Divider | 31-1/2″ | Fireplace section |
Adding the Fireplace Insert Opening
The center compartment is the star of this build. My divider placement makes a perfectly sized opening for an electric fireplace insert or a faux flame display. I designed it as a double-sided cabinet — fireplace facing front, functional shelving on the back.
- Dry-fit all pieces before permanent assembly
- Check the insert dimensions against your opening
- Leave at least 1/4-inch clearance on each side
With the framework complete, you’re ready to build out the storage cabinet base in the next step.
Constructing the Storage Cabinet Base
Every great build starts with a solid foundation. This TV stand with built-in fireplace tutorial is no different. The base is the unsung hero, keeping everything stable.

Begin by cutting your bottom board to 52-1/2 inches. This piece is key to keeping the structure stable. Use wood glue and 1-1/4″ brad nails to attach it to the frame.
Next, cut a 1×6 footer board to 54 inches. This piece extends past the sides, giving the base a clean look.
Now, it’s time to add interior dividers. These help organize your gaming systems, streaming boxes, and cables. Use a square to ensure they’re straight.
Here’s a breakdown of the base components:
| Component | Material | Dimensions | Purpose |
|---|---|---|---|
| Bottom Board | 3/4″ Plywood | 52-1/2″ x 16″ | Primary base support |
| Footer Board | 1×6 Pine | 54″ length | Aesthetic trim and stability |
| Interior Dividers | 3/4″ Plywood | Custom to fit | Storage compartments |
For a raised hearth effect, skip the standard base. Use 1×8 boards for the platform and 2×6 lumber on top. This adds visual weight and makes the fireplace look built-in.
- Use a level on every divider before securing
- Pre-drill holes to prevent splitting in pine boards
- Dry-fit all pieces before committing with screws or nails
Once the base is stable and level, you can move on to adding crown moulding and decorative trim. These details will make your project stand out.
Installing Crown Moulding and Decorative Trim
This is where DIY fireplace TV console plans go from “that’s a nice bookshelf” to “wow, did you really build that?” Trim work is the secret sauce that makes your project look like it rolled off a showroom floor. Let me walk you through every cut and nail.
Measuring and Cutting Crown Moulding Angles
I grabbed medium-sized crown moulding — under 1-3/4″ wide and about 2-1/2″ tall. Anything bigger overwhelms the piece. Set your miter saw to 45 degrees for clean corner joints. Measure each top edge twice, cut once. I learned that lesson the expensive way. Secure each piece with 1″ brad nails along the top perimeter.
Attaching Base Moulding for a Professional Look
For the bottom, I used 5-1/4″ base moulding around the entire perimeter. This instantly anchors the console and gives it visual weight. When figuring out how to build a tv stand with fireplace, this single step makes the biggest difference. Pin nail it into place and fill any gaps with wood filler before finishing.
Adding Header Boards and Footer Details
I cut a 1×3 top header board at 57-1/2″ and a bottom header at 54″. These frame the front face and create clean sight lines. A 1×6 footer board at 54″ adds one more decorative layer near the base. Together, these pieces give the whole build a layered, furniture-grade appearance.
| Trim Component | Material Size | Cut Length | Fastener |
|---|---|---|---|
| Crown Moulding | Under 1-3/4″ W x 2-1/2″ H | Measured to fit top edges | 1″ brad nails |
| Base Moulding | 5-1/4″ height | Measured to fit bottom perimeter | 1-1/4″ pin nails |
| Top Header Board | 1×3 lumber | 57-1/2″ | 1-1/4″ brad nails |
| Bottom Header Board | 1×3 lumber | 54″ | 1-1/4″ brad nails |
| Footer Board | 1×6 lumber | 54″ | 1-1/4″ brad nails |
With all the trim locked in, you’re ready to move on to building custom doors — the next step in your DIY fireplace TV console plans that brings hidden storage into play.
Building Custom Doors with Hidden Storage
Building the electric fireplace TV stand gets exciting and a bit sneaky. I made three custom doors to hide all the clutter. They look clean and polished, like a secret identity for your media center.
I cut the two side doors from 1×12 boards to 31 inches each. The center door needed a bit more, at 31-1/4 inches, for a perfect fit. This center door is special because it flips down, giving easy access to the fireplace controls and hidden items.
To prevent the flip-down door from warping, I added 1×2 strips cut to 11-1/4 inches. This reinforcement is key for a media center with a fireplace insert to last long.
“A well-built door is the handshake of fine furniture — it’s the first thing people notice and the last thing they forget.”
I added decorative moulding to each door face. It’s a small detail that makes the whole piece look high-end.
For mounting, I used three sets of Euro Style concealed hinges. These hinges are hidden when the doors are closed, keeping the look smooth.
| Door | Size | Style | Hinge Type |
|---|---|---|---|
| Left Side | 31″ | Swing Open | Euro Style Concealed |
| Center | 31-1/4″ | Flip-Down | Euro Style Concealed |
| Right Side | 31″ | Swing Open | Euro Style Concealed |
With the doors in place, my electric fireplace TV stand was looking dangerously professional. Next, I focused on the fireplace insert and electrical details.
Fireplace Insert Installation and Electrical Considerations
Now it’s time to add the fire to your custom TV stand fireplace combo. I was a bit worried at first. Mixing electricity and wood seemed risky. But, with careful planning, it’s actually quite simple.
Choosing Between Electric Inserts and Alternative Options
The Touchstone Sideline 50 is my favorite for woodworking projects. It fits perfectly into a custom cabinet and looks amazing. It uses a standard 120V outlet, so you don’t need special wiring. Just remember to plan your outlet spot before you close the back panel.
| Insert Type | Price Range | Heat Output | Installation Difficulty |
|---|---|---|---|
| Touchstone Sideline 50 | $500–$700 | 5,000 BTU | Easy |
| Dimplex Linear 34″ | $300–$450 | 4,231 BTU | Easy |
| LED Log Set | $30–$80 | None | Very Easy |
| Flameless Candle Display | $15–$50 | None | Very Easy |
Proper Ventilation and Safety Requirements
Electric inserts do generate heat. I made sure to leave three inches of clearance around the insert. Adding ventilation holes near the top keeps things cool. Use heat-resistant materials around the opening if you plan to use the heater.
Creative Alternatives Using LED Lights and Flameless Candles
Not everyone wants to spend $500 on an insert. I’ve seen beautiful builds that use birch logs with LED lights inside. The glow is cozy, and it’s much cheaper. Flameless candles also work well, arranged at different heights.
A fireplace doesn’t need real flames to steal the show — it just needs the right light.
With the insert installed, you’re ready for the final touches that will complete your project.
Finishing Touches and Customization Ideas
This is where your homemade TV console fireplace design really shines. The finishing stage is everything. Start by filling all nail holes and gaps with wood filler. Let each coat dry completely before moving on.
Sand the entire piece with 120-grit sandpaper, always following the wood grain. Vacuum up every speck of dust, and wipe it down with a damp cloth. Skipping this step will haunt you.
Paint vs Stain Options for Your Style
Before committing, apply a test coat on a hidden spot. This ensures even color and good adhesion. If you’re painting, a quality primer is non-negotiable.
For staining, use a pre-stain wood conditioner. This helps the color absorb evenly — important on pine or poplar.
| Finish Type | Best For | Prep Needed | Durability |
|---|---|---|---|
| Latex Paint | Modern or farmhouse looks | Primer required | High with topcoat |
| Oil-Based Stain | Rustic or traditional styles | Wood conditioner | Moderate |
| Chalk Paint | Vintage or distressed aesthetics | Minimal prep | Needs wax seal |
Adding a Raised Hearth Platform
Want to elevate your step-by-step fireplace TV cabinet build? A raised hearth platform does exactly that — literally. Use 1×8 boards for the base layer and stack 2×6 boards on top.
Skip the base moulding on the main cabinet if you go this route. An optional 54″ x 40″ backing cut from 1/4-inch plywood gives the whole unit a polished, built-in look.
Cable Management Solutions for Electronics
Nothing ruins a gorgeous homemade TV console fireplace design faster than a spaghetti pile of cords. Keep things clean with these tricks:
- Drill cable pass-through holes in the back panel behind each shelf
- Use adhesive cable clips to route wires along interior edges
- Install a small power strip inside one storage compartment
A tidy cable setup makes your step-by-step fireplace TV cabinet build look like it came straight from a showroom — not a garage.
Conclusion
I started this TV stand with built-in fireplace tutorial with a dream and some plywood. Now, I have a 72-inch entertainment center that looks expensive but wasn’t. It fits most TV sizes and keeps my living room tidy. Not bad for a weekend project with basic tools.
The double-sided design is my favorite part. One side shows off the fireplace, while the back has shelving. It can even act as a room divider if you want to change things up. Plus, it’s easy to move, so rearranging your space is a breeze.
The materials came from Home Depot and Lowe’s. No fancy or special-ordered stuff. You can adjust the size, trim style, or finish to fit your style. This project is all about making it your own.
If you’re thinking about building your own, just grab your saw and start. The materials are affordable, and the tutorial makes it easy to follow. Your living room will thank you for something you built yourself, with a little sawdust in your hair.
How much does it cost to build a TV stand with fireplace compared to buying one?
Do I need a Kreg Jig to complete this DIY fireplace TV console project?
What are the exact lumber dimensions I need for building this media center with fireplace insert?
Can I use this TV stand with fireplace as a room divider?
What electric fireplace insert fits this homemade TV console fireplace design?
How do I build the doors with hidden storage compartments?
How do I add a raised hearth platform to the electric fireplace TV stand construction?
What finishing steps ensure a professional-looking TV stand with built-in fireplace?
Can I modify the dimensions of this TV stand with fireplace to fit my space?
giveitlegs@live.com
Contributing writer covering Honest reviews & buying help for fireplace TV stands and electric media consoles..