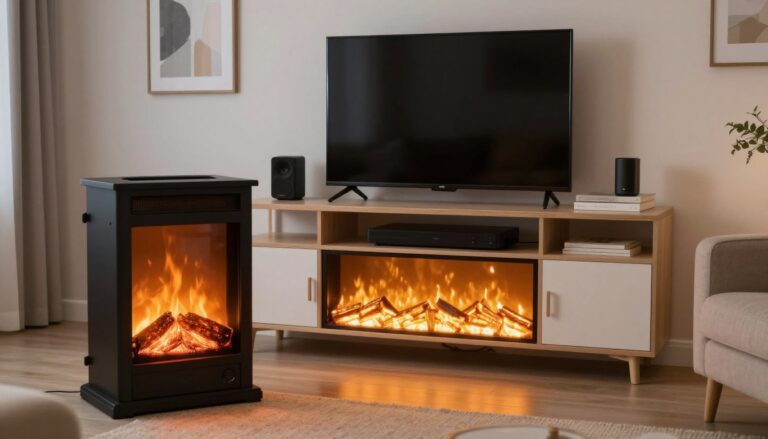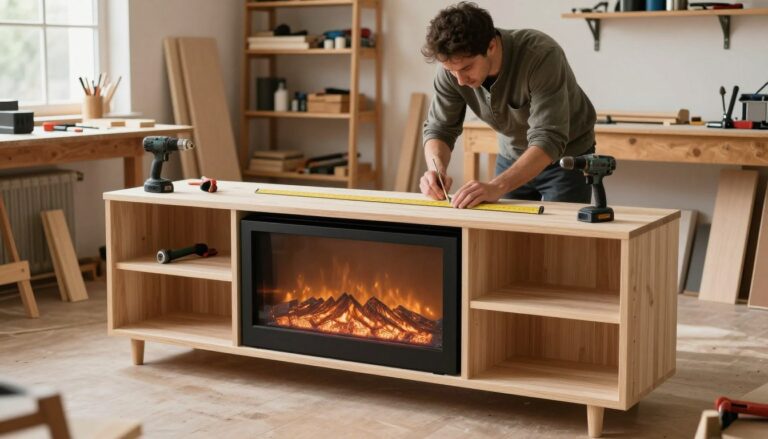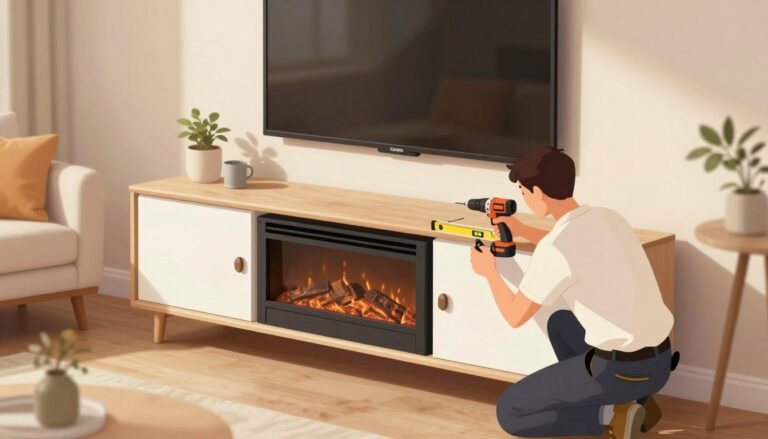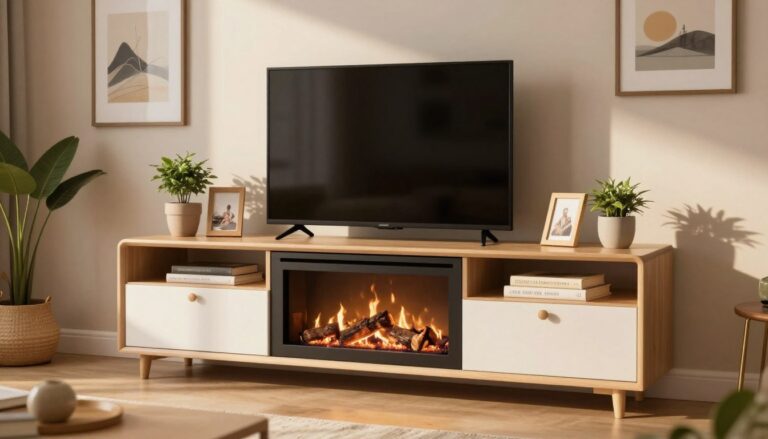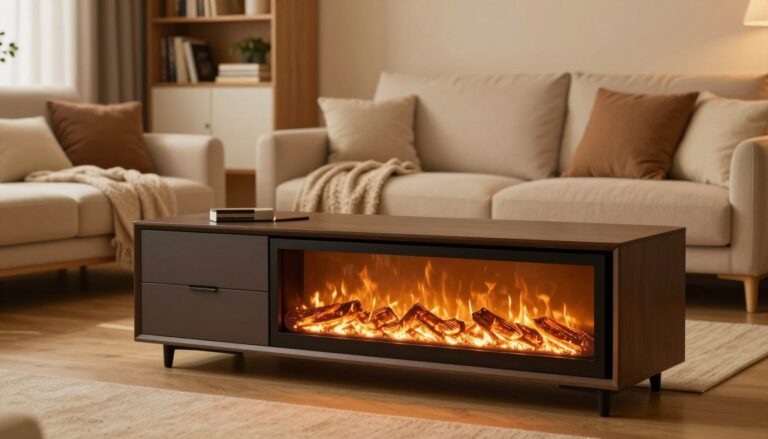
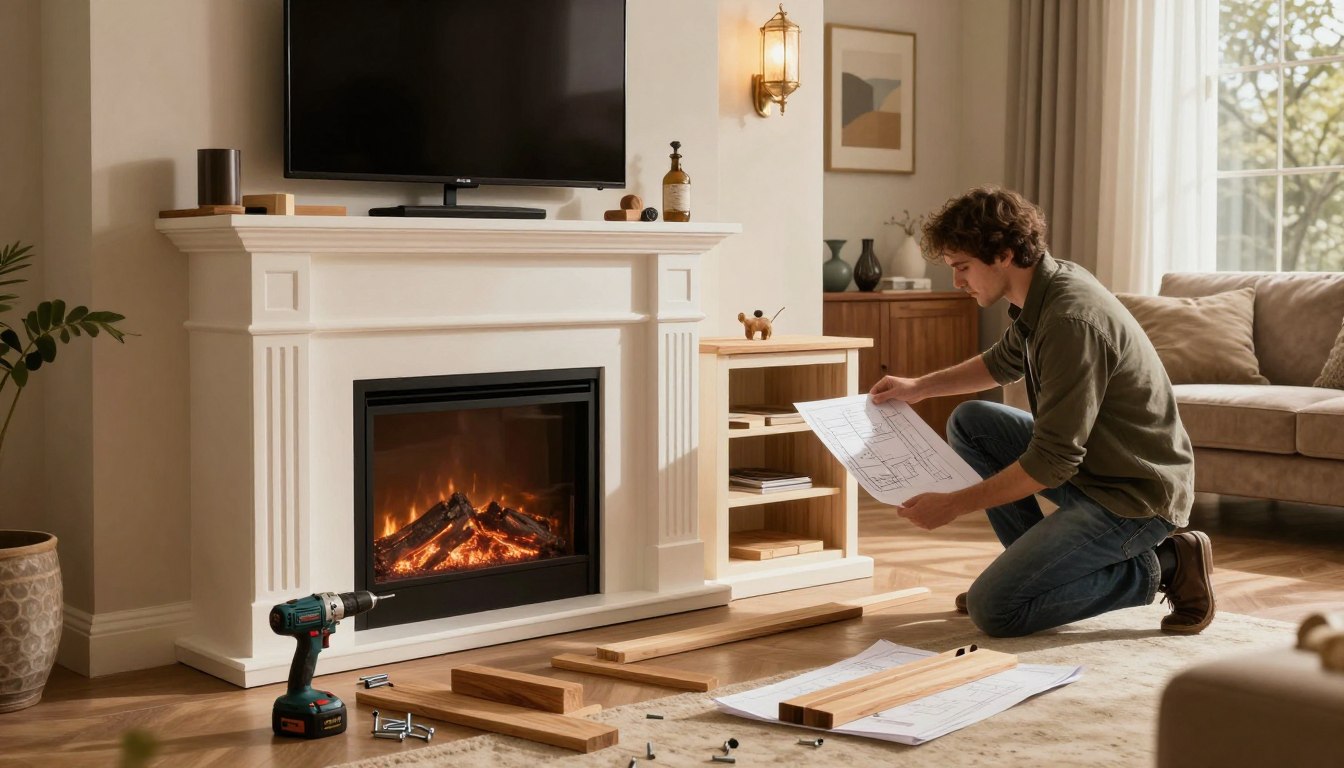
How to Build Fireplace TV Stand That Wows Your Guests
Affiliate links — we may earn a commission
I looked at my basement wall for months. It was empty, dull, and felt lifeless. The space was cold, both in temperature and spirit. It was a place where no one wanted to be.
But everything changed when I built my first electric fireplace surround upstairs. I chose a stacked stone design for the alcove from our bay window. When I turned it on, my living room transformed. My neighbor thought I had hired someone, but it was just me and some DIY skills.
So, I set out to make my basement warm and inviting. I wanted to build a fireplace TV stand that would turn it into the coziest room. An electric insert would add warmth to this cold space.
If you’re thinking about trying this project, you’re not alone. I was in your shoes. The good news is, it’s easier than you think. You don’t need to be a pro carpenter or have a lot of tools.
All you need is a weekend, some basic tools, and a desire to make a difference. I’ll guide you through every step of building a fireplace TV stand. It will look custom, feel luxurious, and keep your toes toasty.
Key Takeaways
- Building a DIY fireplace TV stand is a manageable weekend project that doesn’t require advanced carpentry skills.
- Electric fireplace inserts add real warmth to cooler spaces like basements that struggle to stay comfortable.
- Proper planning — measuring your space and choosing the right insert — saves time and prevents costly mistakes.
- DIY fireplace TV stand plans can be customized with shiplap, stacked stone, or tile to match any room style.
- A custom-built fireplace TV stand creates a stunning focal point at a fraction of professional installation costs.
- Electrical planning and safety considerations should be addressed before framing begins.
Planning Your DIY Fireplace TV Stand Project
Before I started, I planned every detail carefully. Good planning is key to a successful project. Rushing can lead to frustration, wasted materials, and a project that looks like it was done on a whim.
Choosing the Perfect Location for Maximum Impact
I initially wanted to place the insert between a bench and TV. But, the space was too small. I then moved it to my game storage wall, where I could work around IKEA Kallax cubby units. Remember, stay flexible. Walk through your room, sit on your couch, and imagine where the glow will catch the most attention.
Measuring Your Space and Electric Fireplace Insert Dimensions
When building an electric fireplace console, measurements are essential. Touchstone provides dimensions for every model on their website. I checked these specs before cutting any wood. Here are some common sizes I compared:
| Touchstone Model | Fireplace Width | Rough Opening Width | Rough Opening Height |
|---|---|---|---|
| Sideline 36″ | 36 inches | 32.75 inches | 17.5 inches |
| Sideline 50″ | 50 inches | 46.75 inches | 17.5 inches |
| Sideline 60″ | 60 inches | 56.75 inches | 17.5 inches |
Selecting Between Built-in and Wall-Mounted Fireplace Options
Touchstone offers both built-in and wall-mounted fireplaces. I chose built-in for a sleek look. Wall-mounted styles are quicker to install but sit on top of the wall.
- Built-in: Recessed into framing for a flush, polished finish
- Wall-mounted: Hangs like a flat-screen TV with included brackets
Choosing the right style now saves headaches when framing starts.
Essential Materials and Tools for Your Fireplace Media Center
Before I started, I made a detailed shopping list. I learned the hard way that too many trips to Home Depot can slow you down. Every guide I read said the same thing: get everything first.
I bought luan wood strips, five inches wide, at the hardware store. They’re light, cheap, and paint well. I also got 2×4 lumber for the frame, drywall for cladding, and wood corner pieces for clean edges.
A nail gun was my go-to tool. It helped me attach shiplap and trim without splitting the wood. I used a flat sanding sponge to smooth out edges and remove splinters. Before painting, I used a foam roller on edges to save time later.
| Material | Purpose | Approximate Cost |
|---|---|---|
| Luan wood strips (5″ wide) | Shiplap surround panels | $15–$25 per sheet |
| 2×4 lumber | Structural framing | $3–$6 per board |
| Drywall (½” thick) | Cladding around frame | $10–$15 per sheet |
| Wood corner pieces | Clean edge finishing | $5–$10 each |
| Nail gun (brad nailer) | Attaching planks and trim | $40–$80 (or rental) |
| Flat sanding sponge | Smoothing edges and splinters | $3–$5 |
| Foam roller (4″ mini) | Pre-painting plank edges | $4–$8 per pack |
With all materials ready, I began building the frame. It’s the key part that holds the electric fireplace and the TV.
How to Build Fireplace TV Stand Frame and Structure
Now it’s time to start building your fireplace TV cabinet. The framing stage is where your vision comes to life. It might feel like surgery on your wall, but it’s worth it.
Creating the Rough Opening for Your Electric Insert
Your electric fireplace insert needs a snug fit. Measure its size and add a quarter inch on each side for clearance. Electric inserts have vents in the front, so you don’t need much depth.
Securing 2×4 Framing to Support Your Fireplace Weight
I built my custom fireplace TV stand in a basement. Anchoring 2x4s into the cement floor was a big job. Luckily, a contractor helped me avoid any mistakes.
Here’s what the framing needed:
- Pressure-treated bottom plates secured with Tapcon screws into concrete
- Vertical studs spaced 16 inches on center
- A reinforced header above the fireplace opening to carry the insert’s weight
- Double studs on each side of the rough opening for extra strength
A solid frame isn’t optional — it’s the backbone of everything you’re about to stack on top of it.
Installing Drywall Around Your Custom Framework
After the frame was up, I hung drywall over it. I took a fun shortcut by skipping the mudding and taping. My custom fireplace TV stand would get a decorative surround, so perfect drywall wasn’t needed. Just screw the sheets in place, and you’re ready for the next step.
Electrical Requirements and Safety Considerations
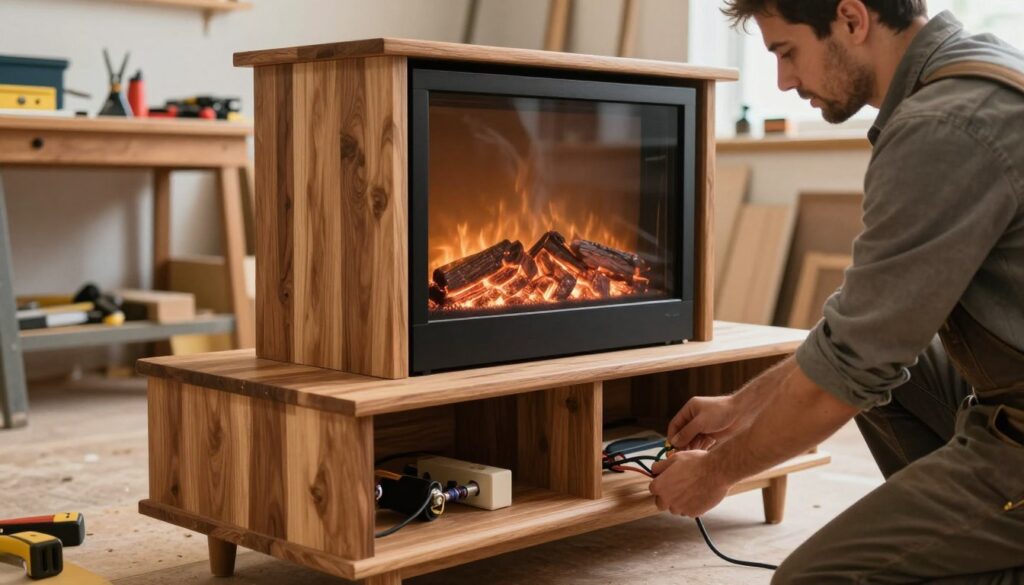
Your electric fireplace stand woodworking project looks stunning — right up until you realize there’s no power to run it. I learned this the hard way. Getting your electrical setup right before closing up the frame saves you from ripping out drywall later.
Positioning Outlets for Plug-in or Hardwired Installation
Most electric fireplace inserts, like the AudioFlare series, give you two options: plug-in or hardwired. A plug-in setup is simpler and great for renters or anyone who might swap units later. Hardwiring creates a cleaner look with no visible cords.
I had an electrician use my existing wall outlet and reposition it inside the rough opening. This kept the cord hidden behind the insert. If you’re tackling an electric fireplace stand woodworking build, plan your outlet placement inside the cavity so the unit sits flush against the back wall.
| Installation Type | Skill Level | Cost Estimate | Best For |
|---|---|---|---|
| Plug-in (120V outlet) | Beginner | $75–$150 | Renters, easy swaps |
| Hardwired (direct connect) | Licensed electrician | $200–$400 | Permanent, clean look |
Adding Hidden Outlets for Holiday Decorations and Accent Lighting
I asked my electrician to add a second outlet on the side of the stand. This powers accent LED strips that light up the mantel shelf. A third outlet sits near the top — perfect for Christmas lights or seasonal garland with twinkle lights.
- Place one outlet inside the firebox opening for the insert
- Add a side outlet for accent lighting or smart plugs
- Install a top-mounted outlet for holiday décor near a future mantel
Most electric fireplace brands include all mounting hardware and post helpful installation videos online. Check those before you start your woodworking frame — they’ll show exact clearance specs for safe wiring. With your electrical sorted, you’re ready to slide in the insert like a pro.
Installing Your Electric Fireplace Insert Like a Pro
This is my favorite part of the entire fireplace TV console building guide — the moment everything clicks into place. I chose the AudioFlare black glass electric fireplace for its sleek, modern profile. It stretches wide across the frame and looks absolutely stunning once seated.
The unit ships with two media options: clear crystal beads and a traditional wood log set. Swapping between them takes about thirty seconds. Pop out one, drop in the other. It’s that simple. I started with the crystals for a contemporary vibe, but knowing I can switch for the holidays feels like a nice bonus.
Now, here’s where I earned my bragging rights. The actual installation was shockingly fast. I slid the insert straight into the 2×4 rough opening I’d already framed. The fireplace has pre-drilled screw holes along both sides of its outer frame. A few screws through those holes into the studs, and the unit was locked in tight. Start to finish? Under ten minutes.
“Measure twice, install once — and you’ll feel like a genius when the fireplace slides in on the first try.”
One tip worth noting in any fireplace TV console building guide: you can leave the insert in place while you finish surrounding surfaces, or pull it out to protect the glass during messy work. I removed mine before tackling the surround material. Reinstalling it later took the same ten minutes.
- Slide the insert into the framed opening
- Align the screw holes with the 2×4 studs
- Secure with screws on each side
- Test all functions before adding finishing materials
With the insert secured, I was ready to move on to the fun, creative part — choosing the perfect surround design to bring the whole unit to life.
Creative Design Options for Your Fireplace TV Console
Now the fun begins. Building a fireplace TV stand is one thing, but making it look amazing is another. Once your frame and electric insert are set, the surround material and color will set the mood of your room.
Choosing Between Shiplap, Stacked Stone, or Tile Surrounds
I first thought of using stained shiplap, but the cost was too high. Painted shiplap is just as good and cheaper. Stacked stone adds a rustic touch, while tile brings a modern look. Each choice changes the whole feel of your project.
Selecting Paint Colors That Complement Your Room’s Aesthetic
My basement walls are Sherwin-Williams Westchester Gray, a cozy shade. I chose Jasper, a deep green, for the surround. It reminded me of my Christmas tree, so I kept it all year. Choosing the right paint is key, as DIY plans often overlook this.
Modern vs Traditional Styling Choices for Your Entertainment Center
Your style choice guides the whole project. Here’s a quick guide:
| Feature | Modern Style | Traditional Style |
|---|---|---|
| Surround Material | Flat porcelain tile | Wood mantel with molding |
| Side Storage | Minimal open shelving | Built-in bookcases |
| Color Palette | White, black, gray | Warm wood tones, deep greens |
| Overall Look | Sleek and clean | Classic and cozy |
Whichever style you pick, building your shiplap surround will bring your design to life.
Building the Perfect Shiplap Fireplace Surround
Creating a shiplap surround is a sign of style and DIY skills. It’s where your project’s personality really comes out. I picked luan wood strips for their affordability and ease of use. Here’s how I did it.
Cutting and Preparing Luan Wood Strips for Installation
I cut luan sheets into five-inch-wide strips with a table saw. Before hanging, I paint the edges with a small foam roller. This step hides any raw wood edges.
For a modern look, I run strips across the full width. I start at the ceiling and work down. The bottom strip fits behind the baseboard, hiding any mistakes.
Using the Coin Trick for Perfect Plank Spacing
I use a plastic toy coin as a spacer. It ensures even gaps without overthinking it. Just place the coin, press the next strip against it, and nail.
Applying Paint Techniques for Professional Results
I paint the drywall behind the shiplap with a base coat. This coat matches the shiplap color, hiding dark spots. This detail greatly improves the look of your surround.
| Step | Material | Tool Needed | Pro Tip |
|---|---|---|---|
| Cut strips | Luan plywood sheets | Table saw | Cut all strips at 5 inches wide |
| Pre-paint edges | Latex paint | Small foam roller | Match paint to final wall color |
| Paint drywall base | Latex paint (same shade) | Standard roller | One coat is enough for gap coverage |
| Space planks | Plastic toy coin | None | Keep coin consistent for uniform gaps |
| Attach strips | Brad nails (1.5 inch) | Nail gun | Hit studs for maximum hold |
“Good design is obvious. Great design is transparent.” — Joe Sparano
With the shiplap surround done, you can add storage and display features. This makes your console truly functional.
Adding Storage and Display Features to Your Fireplace TV Cabinet
A homemade fireplace entertainment center is more than just a place for the TV and fire. It’s about using every inch wisely and making it stylish.
I used two long DIY picture ledges and cut them into three pieces each. I mounted three on each side of the fireplace. These shelves are perfect for books, plants, and photos. They’re simple, clean, and very affordable.
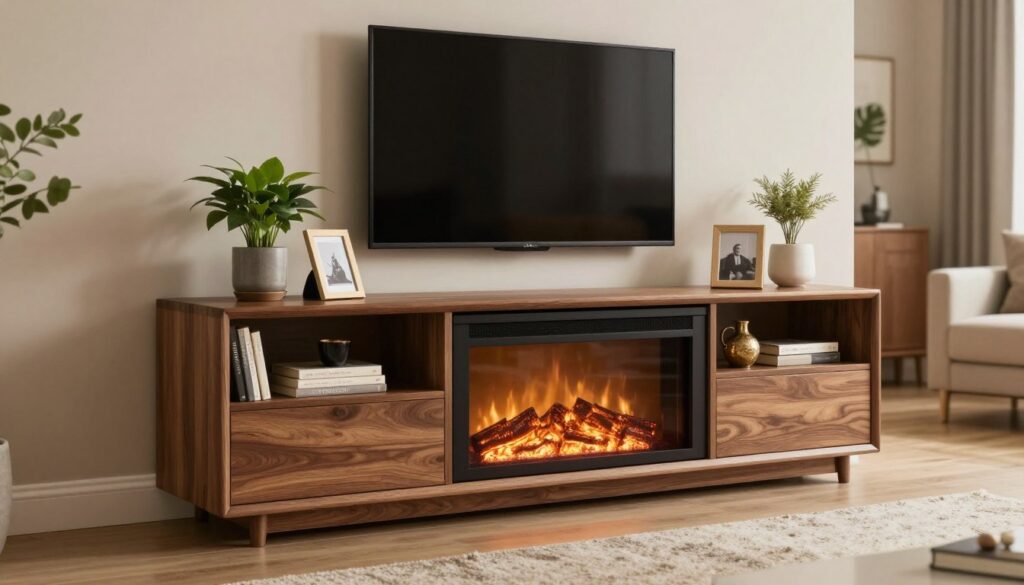
Instead of sconces, I added small puck lights above each shelf. This choice is subtle and modern. It adds light without taking away from the fireplace.
For the top, I hung a round brass mirror instead of a mantel. This choice keeps the area clutter-free. The mirror makes the space feel airy and minimal, just what I wanted.
Your storage needs will change over time. Build with flexibility in mind, not permanence.
I started with IKEA Kallax cubby units for toy storage. As my kid grew up, I replaced them with sleeker displays. This flexibility is a big plus of building your own unit.
| Feature | Purpose | Estimated Cost |
|---|---|---|
| DIY Picture Ledges (6 pieces) | Display shelving | $25–$40 |
| Recessed Puck Lights (4 units) | Accent lighting | $30–$50 |
| Round Brass Mirror | Decorative focal point | $40–$80 |
| IKEA Kallax Cubby Units | Flexible storage | $70–$120 |
Smart storage makes a homemade fireplace entertainment center a lasting centerpiece. It grows with your life.
Tech Features and Remote Control Options That Impress
Building your own fireplace TV cabinet is just the start. The real excitement comes from the tech inside modern electric inserts. With a single remote, you control flame effects, speakers, and heat easily. Let’s dive into the cool stuff.
Exploring Flame Color and Height Settings
The Touchstone electric fireplace remote offers five flame intensity levels. You can choose from a soft glow to a bright blaze. There are three color modes to match your mood.
Traditional orange gives a classic feel. Modern blue is sleek and contemporary. Mixing both colors creates a stunning effect. Switching colors during a dinner party is a great way to impress.
Utilizing Built-in Bluetooth Speakers for Ambiance
A custom fireplace TV stand project gets even more interesting with built-in Bluetooth speakers. Many Touchstone models come with these speakers. You can pair your phone and stream music or fire sounds.
No extra soundbar is needed. The audio fills the room, creating a cozy ambiance. It’s a great way to enhance your setup without adding clutter.
Understanding Heat Output and Room Coverage
These inserts are not just for looks. They have two heat settings to warm up to 400 square feet. Sitting on my sofa on a chilly evening, I felt the warmth.
The heat is gentle, unlike a traditional fireplace. It keeps you cozy without drying out the air.
| Feature | Low Setting | High Setting |
|---|---|---|
| Heat Output (BTU) | 2,500 | 5,000 |
| Room Coverage (sq ft) | Up to 200 | Up to 400 |
| Flame Intensity Levels | 1–3 | 4–5 |
| Flame Color Options | 3 (Orange, Blue, Combo) | 3 (Orange, Blue, Combo) |
| Bluetooth Speaker | Yes | Yes |
With storage already in place, these tech upgrades make your build a true entertainment centerpiece. It’s something to show off.
Conclusion
I hope this guide helped you feel ready to make a boring wall into something amazing. A custom TV console like this can really make any room stand out. It’s perfect for your bedroom, living room, or even that cold basement.
Woodworking an electric fireplace stand is great because it looks good all year. In winter, it heats your space well. In summer, just turn on the flame effect for a stylish look without the heat.
Brands like Touchstone make it easy with lots of sizes and colors. So, get your tools ready, choose your materials, and start building. Your guests will be amazed you did it yourself. And it’s okay to keep it a secret.
How difficult is it to build a fireplace TV stand as a DIY project?
What materials do I need to build an electric fireplace console?
How deep does the wall need to be for a fireplace media center construction?
Do I need an electrician to install an electric fireplace in my custom TV stand?
What are the best design options for a homemade fireplace entertainment center?
Can an electric fireplace stand actually heat my room effectively?
How do I achieve perfectly spaced shiplap on my fireplace TV cabinet?
What flame and sound features come with Touchstone electric fireplaces?

giveitlegs@live.com
Contributing writer covering Honest reviews & buying help for fireplace TV stands and electric media consoles..