How to Build a Corner TV Stand with Electric Fireplace
Affiliate links — we may earn a commission
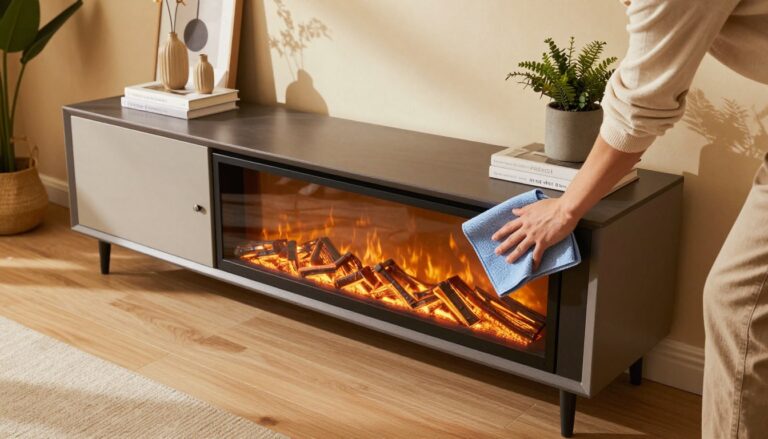
I stood in my basement apartment last winter, staring at that empty corner. It felt cold, both in temperature and emotion. It lacked a heart, a place to gather, and a reason to stay awhile. That’s when I decided to build a corner TV stand with an electric fireplace myself.
My wife thought I was crazy. She said buying one from Wayfair would be easier. But the prices were too high. Making a corner media console with fireplace plans myself was cheaper and fit better.
Corners are often wasted in any room. They collect dust and hold sad houseplants. A DIY corner fireplace TV stand turns this area into the room’s centerpiece. It offers warmth, storage, and a TV mount without needing a chimney or contractor.
Electric fireplace inserts like the PuraFlame 33-inch model make this project possible for regular people. No venting or gas lines are needed. Just plug it in and enjoy the warmth. The modern farmhouse look is easy to achieve with shiplap and chunky mantels.
In this guide, I’ll show you every step of building your own corner media console with fireplace plans. We’ll turn that lonely corner into the coziest spot in the house.
Key Takeaways
- Building a DIY corner fireplace TV stand saves a lot of money compared to buying one from stores like Wayfair or Home Depot.
- Corner placement uses less floor space and fewer materials than a flat-wall fireplace build.
- Electric fireplace inserts require no venting, making them perfect for apartments and basements.
- A good corner media console with fireplace plans should have a storage mantel, shiplap accents, and proper TV mounting height.
- You need accurate corner measurements before buying any lumber or your angles will be off from the start.
- Understanding basic electrical requirements and local building codes keeps your project safe and up to standard.
Planning Your Corner TV Stand with Electric Fireplace Project
Before I start, I need a solid plan. Rushing into a project without measurements leads to frustration. Let’s go through each step for a smooth build.
Measuring Your Corner Space Accurately
I measure from the corner to the mantel’s front edge. Most rooms need about 36 inches depth. The hearth should be about 4 feet 3 inches on each wall.
I use a speed square to check wall squareness. Sometimes, corners need 46 degrees, not 45. Walls can be off, so always double-check.
Choosing the Right Electric Fireplace Insert Size
I picked the PuraFlame 33-inch insert for my project. It’s 33 inches wide and 25.5 inches tall. I need an opening at least 33.5 inches wide.
The fireplace section is 50.5 inches wide. The mantel goes up to 52.5 inches.
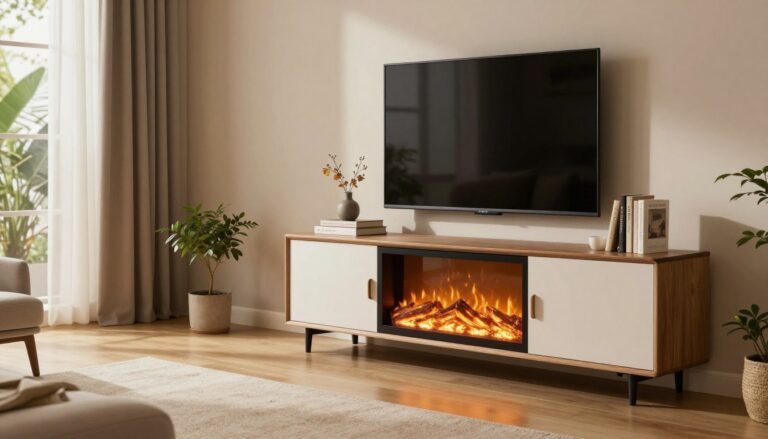
Determining TV Placement and Viewing Angles
I’m using a Samsung Frame TV, which fits flush against the surface. My total height is 8 feet for a standard ceiling. The TV sits near eye level for comfortable viewing.
Creating a Materials List and Budget
Every project needs a clear budget. Here’s my cost breakdown:
| Category | Items Included | Estimated Cost |
|---|---|---|
| Lumber & Sheet Goods | 2×6 framing, MDF sheets, shiplap boards | $275 |
| Trim & Finishing | Crown molding, baseboards, edge banding, stain | $150 |
| Electric Insert | PuraFlame 33-inch fireplace | $360 |
| Total | $785 |
With my plan in place, I’m ready to start cutting.
Essential Tools and Materials for Your DIY Corner Fireplace Build
Before starting, I make sure I have everything I need. A trip to the hardware store mid-project is a big waste of time. This guide will help you get all the tools and supplies for your corner fireplace TV unit.
Power Tools You’ll Need
For my corner TV stand fireplace, I needed strong cutting tools. Here’s what I used:
- Table saw with a fine-tooth blade
- Miter saw for angled cuts
- Circular saw and reciprocating saw
- Drill and impact driver
- 23-gauge pin nailer and 18-gauge brad nailer
Hand Tools and Safety Equipment
I used a carpenter’s square and laser level for straight lines. I also got sanding blocks in 120, 240, and 440 grit. Plus, a caulking gun, safety glasses, and ear protection to keep my fingers safe.
Lumber and Sheet Goods Selection
Knowing your electric fireplace corner stand dimensions before buying lumber saves money and headaches. I chose my materials carefully to match those measurements.
| Material | Quantity | Size |
|---|---|---|
| Fir 2×6 boards | 5 | 8 feet |
| 2×4 studs | 4 | 104 5/8 inches |
| MDF shiplap (preprimed) | 6 | 8-foot 1×6 |
| MDF trim boards | 3 | 8-foot 1×3 |
| MDF baseboard | 1 | 8-foot 1×6 |
| MDF crown molding | 1 | 6 feet |
| MDF with Red Oak veneer | 1 sheet | 4×8 feet |
| Red oak edge banding | 1 roll | 25 feet |
Finishing Materials and Hardware
For hardware, I picked IKEA Utrusta 153-degree hinges and 3-inch toggle nut drywall bolts. I also used #8 x 3-inch wood screws, 1.25-inch pin nails, and 2-inch brad nails. My finishing supplies included one gallon of Behr Pro Interior White Eggshell paint, an 8-ounce can of Varathane Kona stain, and a quart of water-based polyurethane.
Measure twice, buy once — your wallet will thank you later.
How to Build a Corner TV Stand with Electric Fireplace
Before I start cutting wood, I need to prepare. Building a corner TV stand with an electric fireplace requires careful planning. This prep work helps avoid problems later on. Let’s go over the key steps.
Setting Up Your Workspace
I work in my shop, not in the living room. This keeps the mess away from where I live. I divide the project into three parts:
- Bottom framing for the electric fireplace and mantel
- Hearth section
- Upper TV wall section
I paint and stain each piece before moving it inside. This makes the finish look better. A laser level helps me keep everything straight and level.
Before I start, I remove the old baseboards with a multitool. This ensures a smooth fit against the wall.
Safety Considerations Before Starting
Electric fireplaces are powerful. They can heat up a room. I use a dedicated outlet for the fireplace and another for the TV. This prevents overloading the circuit.
A good build isn’t just about looks. It’s about doing it right so you sleep easy at night.
Understanding Building Codes and Electrical Requirements
Every fireplace insert has specific clearance rules. I check these before I decide on the frame size. Ignoring these rules can be dangerous or void warranties.
| Requirement | Typical Specification |
|---|---|
| Side Clearance | 3–6 inches minimum |
| Top Clearance | 6–12 inches minimum |
| Dedicated Circuit | 15-amp or 20-amp, 120V |
| Outlet Placement | Inside or directly behind the insert cavity |
In most U.S. areas, you need a licensed electrician for new circuits. I always check with my local permit office. With everything planned, I can start framing.
Framing the Corner Fireplace Structure
This is where your DIY corner fireplace TV stand starts to take real shape. The framing stage is the skeleton of your entire project. Get this right, and everything else falls into place. I’m using 2×6 lumber for the firebox area. It gives me the strength and depth I need to house the electric insert snugly.

Building the Base Frame with 2×6 Lumber
To build the electric fireplace entertainment center framing, I cut eight main pieces from 2×6 boards. These break down into two horizontal and two vertical pieces for the insert frame. Plus, two vertical and two horizontal pieces for the outer fireplace frame. I secure each joint with 2.5-inch wood screws.
The center frame around the firebox needs a snug fit — no gaps, no wobble.
Between the horizontal frame pieces, I add structural supports: one on top and two on the bottom. This keeps the whole unit rock-solid once the insert sits inside.
Creating Angled Cuts for Corner Installation
Here’s where things get spicy. My corner media console with fireplace plans call for 45-degree angle cuts on the horizontal frame ends. But always measure your actual wall angle first. Many corners sit at 46 degrees, not a perfect 45. A digital angle finder is your best friend here.
“Measure twice, cut once — or in my case, measure four times and hold my breath.”
Assembling the Three-Section Framework
The full structure spans roughly 6 feet tall by 8 feet wide diagonally across the corner. I break it into three sections:
| Section | Lumber | Key Details |
|---|---|---|
| Firebox Frame | 2×6 | Snug fit around insert, 3 internal supports |
| TV Wall Mount Area | 2×4 | Angled top/bottom pieces, center supports for TV bracket |
| Hearth Base | 2×6 | Front piece with angled ends, rear square piece, 4 supports between |
With the framing complete, I’m ready to move on to installing the electric fireplace insert and building out the hearth surround.
Installing the Electric Fireplace Insert and Hearth
This is the moment where your corner TV cabinet fireplace construction starts to feel real. The frame is built. Now it’s time to bring the heat — literally.
Start by leveling your fireplace frame base. I used wood shims to get everything perfectly flat. A crooked fireplace is about as charming as a crooked smile on a passport photo. Once level, anchor the frame to the wall with 3-inch wood screws driven into studs. No studs? Drywall wingnut anchors work great in a pinch.
For this woodworking corner fireplace stand, I chose the PuraFlame 33-inch electric insert. It slides right into the framed opening and sits snug without extra fastening. Here are the key dimensions I worked with:
| Measurement | Dimension |
|---|---|
| Front Width | 35 inches |
| Back Firebox Width | 33 inches |
| Insert Depth | 8.75 inches |
| Rear Clearance | 18 inches |
| Side Surround | 8.5 inches |
Next up: the hearth. I screwed the hearth frame into both the fireplace frame and the wall base plate. It matches my existing baseboard height, so the insert sits just above it. I placed 3/4-inch wood scrap spacers underneath for support and dead-on leveling.
The MDF hearth topper goes on with a pin nailer. Those tiny nails are practically invisible — your secret stays safe. This corner fireplace TV unit tutorial wouldn’t be complete without a power test. Run both the fireplace and TV at the same time to confirm your circuit can handle the load. No tripped breakers allowed.
- The electric insert is fully removable for easy outlet access
- Keep the plug accessible for the upcoming TV installation phase
- Verify all connections before sealing everything up
With the insert glowing and the hearth locked in place, your build is ready for the storage mantel phase coming next.
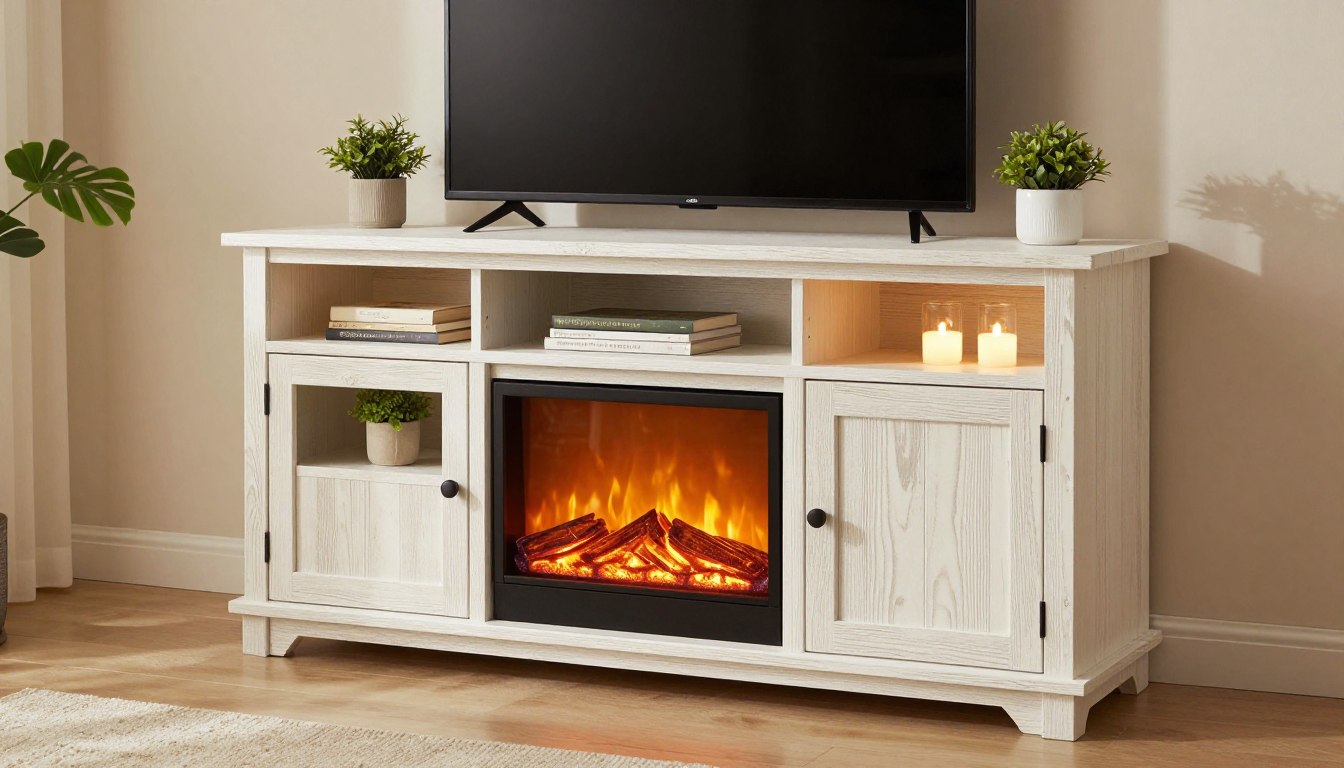
Building the Storage Mantel with Hidden Compartments
My homemade corner TV stand fireplace really came together on a plywood budget. The mantel is the centerpiece, with hidden spots to keep things tidy. I used a single 4×8 MDF sheet with Red Oak veneer for all the parts. Zero waste, maximum style.
Cutting MDF Sheets for Mantel Components
I cut each piece roughly first, leaving a bit of extra room. Then, I used my table saw for precise cuts. The mantel is 52.5 inches long, sticking out 6 inches from the fireplace. It’s important to know your electric fireplace’s dimensions to avoid mistakes.
Creating Hidden Storage Behind Cabinet Doors
I made secret spots on each side of the firebox for DVDs, streaming devices, and cords. These hidden areas let you access your TV accessories easily while keeping things neat. I also routed channels for cords in the back panels to avoid a messy look.
Installing Soft-Close Hinges and Hardware
I chose IKEA Utrusta 153-degree hinges for their smooth, quiet action. If those are not available, 155-degree hinges work just as well.
| Component | Material | Dimension | Quantity |
|---|---|---|---|
| Mantel Top | Red Oak Veneer MDF | 52.5″ x 8″ | 1 |
| Side Panels | Red Oak Veneer MDF | 18″ x 12″ | 2 |
| Cabinet Doors | Red Oak Veneer MDF | 16″ x 10″ | 2 |
| Soft-Close Hinges | Nickel-Plated Steel | 153° | 4 |
| Edge Banding | Red Oak Iron-On | 25 ft roll | 1 |
I added red oak edge banding to all MDF edges. This step transformed the build from “nice weekend project” to “wait, you didn’t buy that?” With the mantel done, I moved on to shiplap and trim.
Adding Shiplap and Decorative Elements
This is when your DIY corner fireplace TV stand really comes to life. Shiplap and trim are like makeup for your build. They cover up any imperfections and make everything look great. Let’s go through each step, using your corner media console with fireplace plans as a guide.
Installing MDF Shiplap Boards
I start at the bottom and work my way up with preprimed 1×6 MDF shiplap boards. A laser level helps me keep everything straight. I use pin nails to attach each board, so the next one covers the nail heads. I try to use full boards to avoid cutting and extra work.
At the top, I notch the board to fit around the fireplace frame.
Applying Crown Molding and Trim Work
Trim work is all about precision when building a corner tv stand with an electric fireplace. I use 1×3 MDF trim boards for the fireplace and TV wall edges. For the crown molding, I choose a 9/16 x 4.25-inch profile for the TV wall top. It should almost touch the ceiling for a professional look.
Finishing with Baseboards and Edge Banding
I finish the hearth with 1×6 MDF baseboard (0.5 x 5.5 inches), held in place with pin nails. I cover all exposed MDF edges with red oak iron-on edge banding. My final steps include:
- Filling all nail holes with wood filler
- Sanding every filled spot smooth
- Caulking all seams with acrylic latex caulk for a seamless finish
With these decorative elements done, your DIY corner fireplace TV stand is ready for the next steps: electrical work and TV mounting.
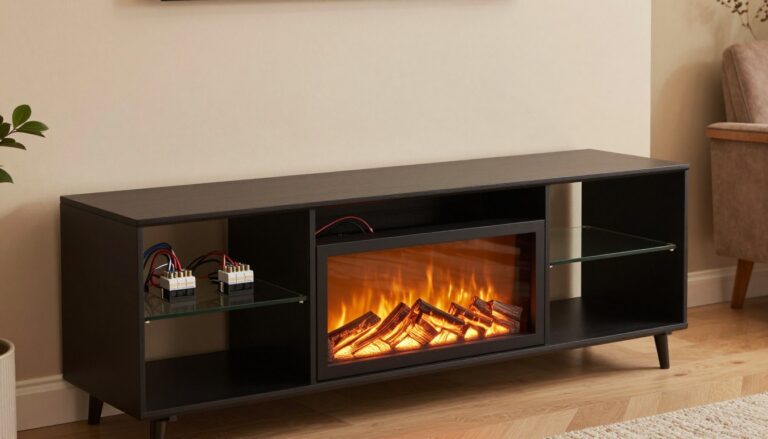
Electrical Work and TV Mounting Solutions
Building an electric fireplace entertainment center means I get to act like an electrician. I make sure the wiring is top-notch. I install a dedicated electrical outlet right behind the fireplace insert. This keeps the circuit from getting overloaded when the TV and fireplace are on at the same time.
I place the outlet in a spot that’s easy to reach once the insert is removed for upkeep.

For the TV mount, I attach brackets to the center supports in the TV wall frame. A Samsung Frame TV fits perfectly in this setup. It looks like a piece of art when it’s not on.
During the corner TV cabinet fireplace construction, I run all cables through the frame channels. This keeps everything neat and hidden.
Cable management is key. I use a 2-inch hole saw for big cables and a 1-inch spade bit for smaller ones. A messy cable setup can ruin the look of a beautiful woodworking corner fireplace stand.
Here’s a quick reference for the key specs I follow:
| Task | Tool / Material | Purpose |
|---|---|---|
| Cable pass-through (large) | 2-inch hole saw | HDMI and power cable routing |
| Cable pass-through (small) | 1-inch spade bit | Ethernet and audio cables |
| TV mounting | Full-motion wall bracket | Adjustable viewing angle |
| Power supply | Dedicated 15-amp outlet | Supports TV and fireplace simultaneously |
The electric fireplace insert plugs directly into the outlet — no hardwiring needed. Before finishing, I test both the TV and fireplace together. This quick check ensures everything works fine and the circuit can handle the load without tripping.
Finishing Touches and Staining Techniques
This is where your homemade corner TV stand fireplace turns into a piece that looks like it came from a store. But you made it. The finishing stage takes patience. You’ll need about 2–3 days for drying time. But the end result is worth every minute.
Preparing Surfaces for Paint and Stain
Before adding color, prep work is key. I start by filling nail holes with wood filler and letting it dry. Then, I caulk all seams and gaps with acrylic latex caulk for a seamless look.
Sanding is a three-step process. Start with 120-grit to smooth out rough spots. Move to 240-grit for a smoother finish. Finish with 440-grit for a silky surface.
This corner fireplace TV unit tutorial tip saved me headaches: pre-finish all components before final installation. It’s easier to spray and stain flat pieces on sawhorses than to tape off a fully assembled unit.
Applying Kona Stain to Oak Components
For the oak veneer MDF mantel and hearth, I use Varathane Kona stain. A foam brush gives an even application. Wipe excess stain in the direction of the grain. Keep your electric fireplace corner stand dimensions in mind — larger surfaces need quick, consistent strokes to avoid lap marks.
A beautiful stain job isn’t about the first coat. It’s about respecting dry times between each one.
Sealing with Water-Based Polyurethane
Once the Kona stain dries, I apply clear satin water-based polyurethane in thin coats. Between coats, I lightly sand with 440-grit sandpaper. Two to three coats provide excellent durability for daily use.
| Finish Type | Product | Application Method | Dry Time |
|---|---|---|---|
| White Paint | Behr Pro Interior White Eggshell | Paint sprayer or foam roller | 2–4 hours per coat |
| Wood Stain | Varathane Kona | Foam brush | 1–2 hours per coat |
| Sealant | Water-Based Satin Polyurethane | Foam brush or spray | 2–3 hours per coat |
With the shiplap, trim, and MDF components painted in untinted Behr Pro White Eggshell and the oak stained rich and dark, your build is now ready for the final wiring and mounting steps ahead.
Conclusion
Learning to build a corner TV stand with an electric fireplace transformed my neglected room corner into the house’s highlight. The three-section modular design made the project feel like a fun puzzle. I built each section in my garage and finished the wood and paint before installing it in a weekend.
The total cost was about $785, including the PuraFlame insert. This is much cheaper than buying a pre-made unit, and it fits my space perfectly. Installing the electric insert was easy because it doesn’t need venting. I hid all the cords in the mantel storage, keeping everything tidy and stylish.
The combination of painted shiplap and Kona-stained oak gives my room a modern farmhouse look. It matches my kitchen design well. This build works with different fireplace sizes and ceiling heights, making it customizable. If you have a dusty corner waiting for a makeover, grab your tools and start building. You’ll be glad you did.
How much does it cost to build a corner TV stand with electric fireplace from scratch?
What are the correct corner TV stand fireplace dimensions I should plan for?
What angle do I cut for a corner fireplace TV unit construction?
Do I need a dedicated electrical outlet for a corner media console with fireplace?
What size opening do I need for the PuraFlame 33-inch electric fireplace insert?
Can I complete this homemade corner TV stand fireplace project in a weekend?
What type of TV works best mounted above a corner fireplace entertainment center?
What lumber should I use to frame a DIY corner fireplace TV stand?
How do I hide cords and cables in a corner entertainment center fireplace installation?
Do electric fireplace inserts require venting for a corner fireplace TV unit tutorial project?
giveitlegs@live.com
Contributing writer covering Honest reviews & buying help for fireplace TV stands and electric media consoles..