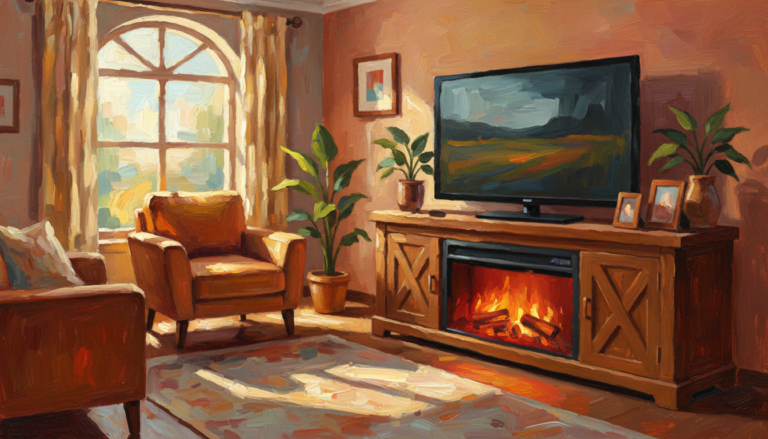
How to Assemble Walker Edison TV Stand with Fireplace
Affiliate links — we may earn a commission
I remember the day my Walker Edison box arrived. It came with free shipping, no extra cost or trouble. I brought it inside, looked at it like a puzzle, and thought, “What have I gotten myself into?” If you’ve ever felt excited and a bit scared when looking at a bunch of parts and tools, you’re not alone.
Assembling a Walker Edison TV stand with fireplace isn’t hard. Walker Edison is a top choice for modular furniture in America. Their pieces are easy to set up, even if you’re not good with tools. The 58-inch fireplace models are very popular, and it’s easy to see why.
Before starting, I checked the assembly guide and video on Walker Edison’s website. This saved me a lot of confusion. Their customer service team is also ready to help with any questions. Plus, they offer a 1-Year Limited Warranty on electrical parts and coverage for defects or missing parts right away.
This guide will show you how to put together a Walker Edison TV stand with fireplace. I’ll share tips I wish I knew before starting. Let’s turn that big box into the highlight of your living room.
Key Takeaways
- Walker Edison offers free shipping on every order across the United States.
- Assembly manuals and step-by-step videos are available online to guide you through the entire process.
- A 1-Year Limited Warranty covers electrical components, defects, and missing parts right out of the box.
- The 58-inch fireplace TV stand model is one of the most popular and beginner-friendly options.
- Organizing your hardware and workspace before starting saves significant time and frustration.
- Walker Edison’s customer service team can answer product-specific questions and help locate purchase options.
Getting Started with Your Walker Edison Fireplace TV Stand Assembly Instructions
Before we get into the assembly, let’s do some prep work. Skipping this step is like baking a cake without preheating. Following your walker edison fireplace tv stand assembly instructions starts before you even pick up a tool.
Checking Your Package Contents
First, lay out every piece from the box. Walker Edison labels each part with letters and numbers that match the manual. Count the panels, screws, and dowels against the parts list. If something’s missing, their customer service can send replacements quickly.
Understanding Free Shipping and Warranty Benefits
Walker Edison offers free shipping on all orders in the U.S. They’re a leading brand in flat-pack furniture, providing solid support for their products.
| Benefit | Details |
|---|---|
| Shipping | Free on all orders within the U.S. |
| Electrical Warranty | 1-Year Limited Warranty on fireplace inserts |
| Defect Coverage | Out-of-box protection for damaged or missing parts |
| Assembly Resources | Online videos and downloadable manuals for all models |
“Measure twice, assemble once — your future self will thank you.”
Preparing Your Assembly Space
Clear a floor area of at least 8 feet by 6 feet. Use a soft blanket or cardboard to protect panels. Keep the assembly instructions handy, either printed or on your phone. Good lighting is also important.
- Clear the room of tripping hazards
- Work on a flat, level surface
- Have a second person on standby for lifting heavier panels
With your space ready and parts verified, you’re ready to gather the tools and hardware for the next step.
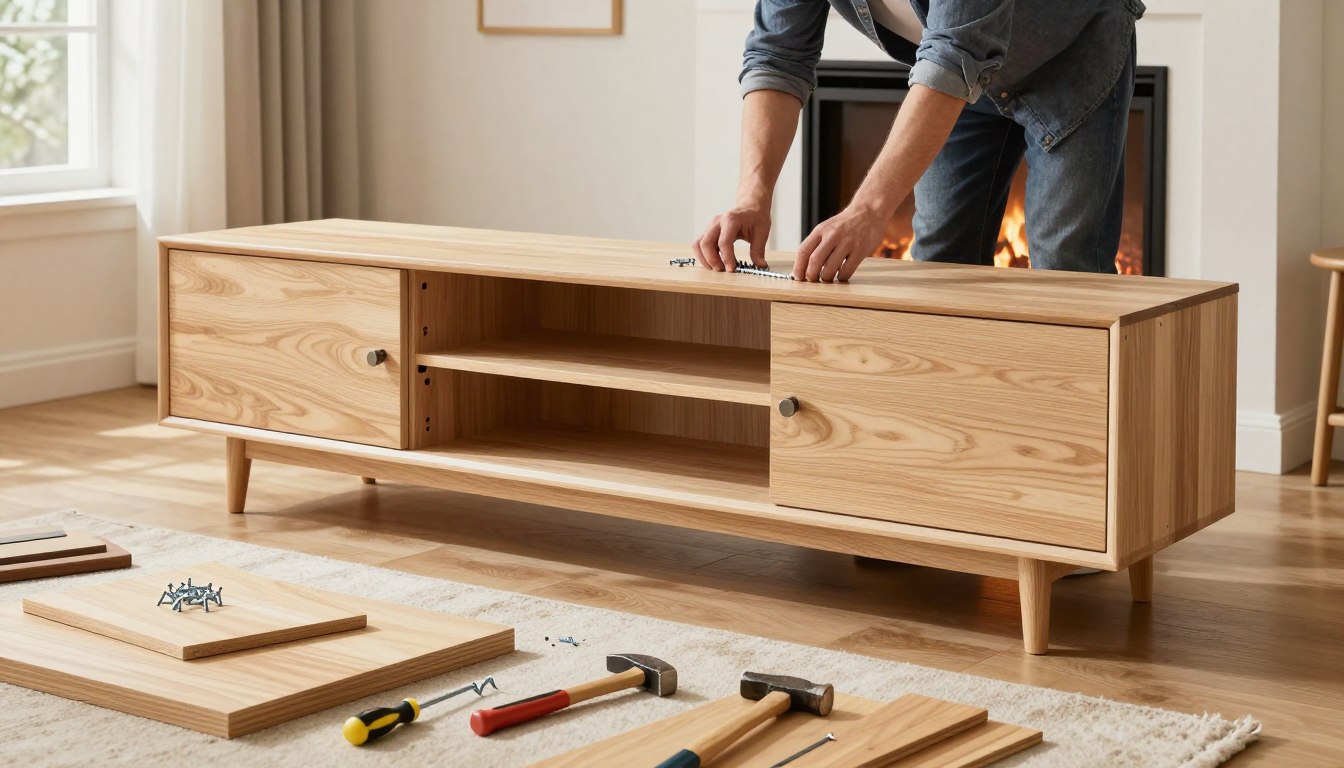
Essential Tools and Hardware for Walker Edison Media Console Fireplace Setup
Before starting my walker edison media console fireplace setup, I spread out all the hardware on my kitchen table. It looked like a small metal army had taken over. Each piece is labeled with a letter in the manual. Knowing what each part is before you start helps avoid a lot of trouble.
Identifying Cam Bolts, Wooden Dowels, and Cam Locks
These three parts are key to the whole project. Cam bolts (labeled C) screw into panels, and cam locks (D and E) twist to tighten joints. Wooden dowels (A and B) keep panels in place. Here’s a quick guide I made during my setup:
| Label | Component | Purpose |
|---|---|---|
| A, B | Wooden Dowels | Align and stabilize panel joints |
| C | Cam Bolts | Insert into pre-drilled panel holes |
| D, E | Cam Locks | Lock panels together by rotating |
| F | Door Stoppers | Prevent doors from swinging inward |
Organizing Screws and Small Components
My walker edison media console fireplace setup had a lot of small parts. I’m talking about screws labeled G, H, J, U, V, and AA. Plus, there were plastic wedges (T), shelf support pins (R), door hinges (P and N), plastic pivots (Q), L-shape brackets (BB), and stickers (Y) for cam locks later. I sorted them in a muffin tin. It was the best decision I made that day.
- Group screws by letter into separate compartments
- Keep stickers (Y) aside — you won’t need them until the end
- Count every piece against the parts list right away
Having Your Hex Key Ready
The included hex key (W) is your main tool for this setup. I kept it in my back pocket the whole time. A Phillips screwdriver is useful for some screws, but the hex key does most of the work. With your hardware sorted and tools ready, you’re set to start building the frame.
How to Assemble Walker Edison TV Stand with Fireplace
Now that you have your tools and workspace ready, it’s time to start. Assembling the walker edison electric fireplace stand begins with the panels. Each part is numbered, making it easy to follow. Literally.
Installing Cam Bolts and Door Stoppers in the Top Panel
Begin with the top panel, labeled as panel 1. Use cam bolts (C) in the pre-drilled holes. Then, add the door stopper (F) and secure with screws (G). This step is key to holding the structure together.
Positioning Wooden Dowels in Bottom and Middle Panels
Wooden dowels are essential for assembling the stand. Press dowel (A) into the bottom and middle panels (2 and 5). These dowels ensure panels fit snugly without the need for glue.
Securing Front Panels with Proper Hardware
The front panels (10, 11, 13, 15, and 16) need cam bolts (C). Panels 10 and 11 also get wooden dowel (B). Here’s a quick guide for assembly:
| Panel Number | Hardware Required | Quantity |
|---|---|---|
| 1 (Top Panel) | Cam Bolts (C), Door Stopper (F), Screws (G) | As specified in manual |
| 2 (Bottom Panel) | Wooden Dowel (A) | Per pre-drilled holes |
| 5 (Middle Panel) | Wooden Dowel (A) | Per pre-drilled holes |
| 10, 11 (Front Panels) | Cam Bolts (C), Wooden Dowel (B) | Per pre-drilled holes |
| 13, 15, 16 (Front Panels) | Cam Bolts (C) | Per pre-drilled holes |
Take your time with each panel — rushing through hardware installation is the number one reason people end up disassembling and starting over.
With all cam bolts and dowels in place, you’re ready for the next step.
Assembling Walker Edison Electric Fireplace Stand Frame Structure
Building the skeleton of your entertainment center is the fun part. It’s when your TV stand transforms from a pile of panels to actual furniture. The frame structure is where everything comes together, literally.

In this step, you’ll connect the support panels (panels 3 and 4) to the side panels (panels 6 and 7) and the top panel (panel 1). These panels fit together using cam locks and wooden dowels. The dowels help align the panels, and the cam locks secure them tightly.
“Good furniture assembly is like a good puzzle — every piece has exactly one place it belongs.”
Here’s how I tackle the frame assembly:
- Slide wooden dowels into the pre-drilled holes on panels 3 and 4
- Align these support panels with the side panels (6 and 7)
- Insert cam bolts into the top panel and connect it to both side panels
- Turn each cam lock clockwise using a Phillips screwdriver until snug
Walker Edison made this a modular system, so it’s quick. I built my frame in under fifteen minutes. The walker edison tv stand installation guide makes it easy because each connection point is clearly marked.
| Panel | Connects To | Hardware Used | Lock Type |
|---|---|---|---|
| Panel 1 (Top) | Panels 6 and 7 (Sides) | Cam Bolts | Cam Lock D |
| Panel 3 (Support) | Panel 6 (Left Side) | Wooden Dowels | Cam Lock E |
| Panel 4 (Support) | Panel 7 (Right Side) | Wooden Dowels | Cam Lock E |
Once every cam lock is tightened, give the frame a gentle shake. If nothing wobbles, you’re ready to attach the side and back panels next.
Walker Edison TV Stand Installation Guide for Side and Back Panels
Now, it’s time to add the walls to your TV stand. This step makes it look like real furniture. It’s very satisfying.
Attaching Side Panels to the Bottom Panel
Take side panels 6 and 7 and line them up with the bottom panel (2). Use screw H and your hex key W to secure them. Start with one side, check it’s tight, then do the other. Avoid over-tightening to prevent damage.
Inserting Back Panel into Side Panel Slots
Slide back panel 21 into the slots on both sides. These slots help guide it into place. If it’s a bit tight, a gentle tap will help. No need for a hammer here.
Securing Everything with Plastic Wedges and Screws
Place top panel 1 on the sides with support panels 3 and 4. Use cam locks D and E to secure it. For the back panel 14, use a plastic wedge T and screw U. This step makes the whole unit stable and strong.
| Component | Part Number | Hardware Used | Purpose |
|---|---|---|---|
| Side Panels | 6 and 7 | Screw H, Hex Key W | Form the left and right walls |
| Back Panel (Slots) | 21 | Slides into grooves | Rear structural support |
| Top Panel | 1 | Cam Locks D and E | Closes the top of the frame |
| Back Panel (Secured) | 14 | Plastic Wedge T, Screw U | Locks rear panel in place |
A sturdy frame is the backbone of every great entertainment center — skip a screw now, and you’ll hear about it every time the bass drops.
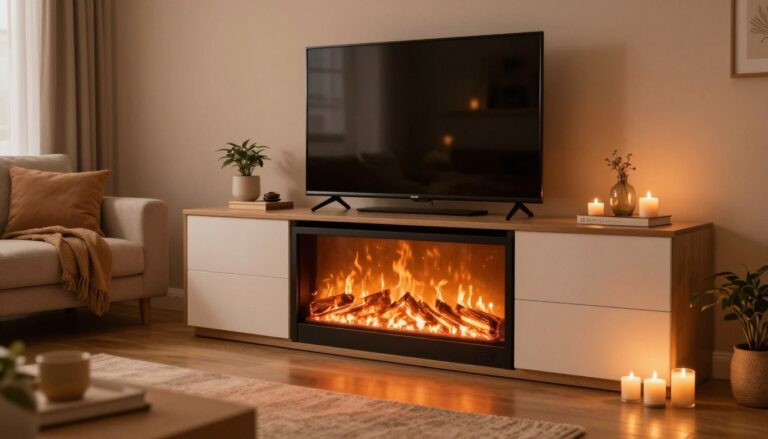
Walker Edison Fireplace Entertainment Center Assembly of the Insert
Now we’re getting to the exciting part — the whole reason I bought this thing in the first place. Installing the fireplace insert is where your step by step walker edison fireplace stand project starts to feel real. With the frame fully assembled, it’s time to slide that electric insert into its new home.
Carefully Positioning the Fireplace Insert
I can’t stress this enough: be gentle. The fireplace insert (part Z) isn’t exactly fragile, but it deserves respect. Slide it into the center opening of your stand with both hands. Once it’s seated, use screw V to lock it in place. No rushing here — scratching the finish at this stage would break my heart, and probably yours too.
Using L-Shape Brackets for Secure Placement
Grab the L-shape brackets (part BB) and screws (part AA). These little guys do the heavy lifting when it comes to keeping your insert stable. Attach each bracket to side panels 3 and 4 using the provided screws. The brackets are adjustable, so position them snug against the insert to prevent any wobble.
| Part | Description | Purpose |
|---|---|---|
| Z | Fireplace Insert | Electric heating and ambiance unit |
| V | Insert Screw | Initial insert securing |
| BB | L-Shape Bracket | Side panel support for insert |
| AA | Bracket Screw | Attaches brackets to side panels |
Ensuring Forward Positioning for Proper Function
Here’s a tip I wish someone had told me sooner: push the fireplace insert all the way forward. This isn’t just about looks. Proper forward placement is critical for airflow, heat distribution, and safe operation. A recessed insert can overheat behind the panels — and nobody wants that kind of surprise.
With the insert locked in and positioned correctly, your step by step walker edison fireplace stand is nearly complete. Up next, I’ll walk you through shelf installation to wrap up the interior.
Step by Step Walker Edison Fireplace Stand Shelf Installation
Installing the shelves was a welcome break after dealing with panels and cam locks. It’s a simple part of the walker edison 70 inch fireplace tv stand assembly. I’m glad it’s over.
Begin by finding the shelf support pins, marked R in your bag. These small pins fit into holes on the stand’s inner panels. You’ll need four for each shelf, two on each side. Choose the height that suits your needs best.
The walker edison 70 inch fireplace tv stand assembly lets you adjust shelf spacing. This is great for fitting different types of gear.
After placing the pins, put shelves 17 and 18 on top. Each shelf has a number on its packaging. This makes it easy to identify them during assembly.
Pro tip: Before locking in your shelf height, measure your tallest media device and add at least an inch of clearance above it.
Here’s a quick guide for choosing shelf placement:
- Gaming consoles like the PlayStation 5 need roughly 15 inches of vertical space
- Streaming devices and cable boxes require about 4–6 inches
- Soundbars or receivers may need 6–8 inches of clearance
The design is adjustable, so you can change your setup anytime. Once the shelves are in place, you can move on to installing the doors. This is the final step before your media center is ready.
Walker Edison 70 Inch Fireplace TV Stand Assembly Door Installation
You’ve built the frame, installed the fireplace insert, and mounted the shelves. Now, it’s time for the glass doors. I was nervous about this part when I learned how to assemble the TV stand. Glass and my clumsy hands seemed like a bad mix. But, it’s actually quite simple.

Attaching Door Hinges to Glass Doors
First, grab your door hinges (parts P and N) and glass doors (parts 19 and 20). Align each hinge with the holes on the glass door edges. Use screw J to secure them. Don’t overtighten to avoid damaging the glass.
Installing Plastic Pivots for Smooth Operation
Before hanging the doors, put the plastic pivots (part Q) into the frame’s holes. These small pieces are key for smooth door movement. Follow your manual for correct placement. They anchor the hinges.
After placing the pivots, attach each hinge to its pivot. The fit should be snug but not too tight.
Securing Doors with Final Screws
With the doors hanging, use screw J to secure them. Do this on both sides. Check each door’s alignment with a gentle swing.
| Part | Name | Purpose |
|---|---|---|
| P & N | Door Hinges | Connect glass doors to pivot points |
| Q | Plastic Pivot | Creates smooth rotation point for hinges |
| J | Screw | Secures hinges and doors in place |
| 19 & 20 | Glass Doors | Left and right cabinet enclosures |
Correctly assembling the doors means they should open and close smoothly. If a door is hard to move or sits unevenly, loosen the screws, adjust, and retighten. You’re almost done!
Final Touches and Quality Checks
You’re almost done — and that feels incredible. After following the walker edison fireplace tv stand assembly instructions, it’s time for the final touches. These steps make your build look like it came from a store.
Applying Stickers to Cover Cam Locks
Get the small stickers labeled “Y” from your bag. I put one over each cam lock for a clean look. They’re small but make a big difference. No one wants to see metal hardware while watching TV.
Testing Door Movement and Adjustments
I open and close each glass door a few times. I want it to move smoothly and quietly. If a door catches or sits crooked, I adjust the hinge screws. The instructions say to do this, and it really helps.
Verifying Fireplace Insert Stability
I make sure the fireplace insert is all the way forward. The L-shape brackets on each side panel should be snug. A wobbly insert is not only annoying but can also affect how well it works.
“A great build isn’t about speed. It’s about getting the details right at the very end.”
| Quality Check | What to Look For | Fix If Needed |
|---|---|---|
| Cam Lock Stickers | All visible cam locks covered | Reapply sticker firmly |
| Door Swing | Smooth open and close motion | Adjust hinge screws |
| Fireplace Insert | Flush and forward in the opening | Tighten L-shape brackets (BB) |
| Overall Stability | No wobbling or rocking | Check all screws and cam locks |
If something doesn’t feel right or you’re missing parts, Walker Edison’s customer service is ready to help. They have a warranty for defective parts, so don’t be afraid to ask for help.
Conclusion
I won’t lie — setting up the Walker Edison media console fireplace made me sweat. But when I stepped back, every detail was worth it. Whether you choose the 58-inch or 70-inch model, the steps are similar.
Walker Edison offers assembly videos and manuals on their website. Bookmark them before you begin. The furniture specs and build steps remain the same, even if product names change.
One great thing is that Walker Edison offers free shipping across the United States. You also get a 1-Year Limited Warranty on all electrical parts. For the price and the cozy look, it’s a great addition to any living room.
What tools do I need for assembling Walker Edison electric fireplace stand?
How long does the Walker Edison fireplace TV stand assembly instructions process typically take?
Does Walker Edison offer free shipping on their fireplace TV stands?
What does the Walker Edison 1-Year Limited Warranty cover?
How do I properly position the fireplace insert during Walker Edison fireplace entertainment center assembly?
Can I adjust the shelf height in my Walker Edison media console fireplace setup?
What are the stickers (Y) for in the hardware kit?
What sizes are available for Walker Edison fireplace TV stands?
Where can I find assembly instruction videos for my Walker Edison TV stand?
What should I do if parts are missing from my Walker Edison fireplace TV stand package?
giveitlegs@live.com
Contributing writer covering Honest reviews & buying help for fireplace TV stands and electric media consoles..