How to Assemble TV Stand with Fireplace Easily at Home
Affiliate links — we may earn a commission
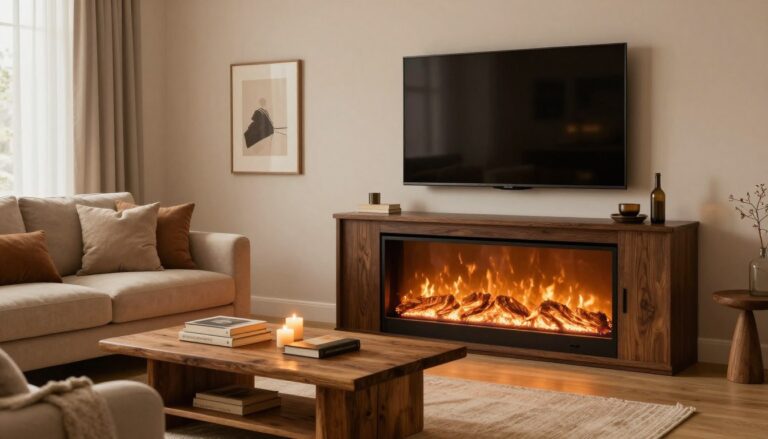
I remember the night I was surrounded by screws and a manual that seemed like ancient code. My partner had given me a beautiful Rocyis 70-inch fireplace TV stand for our anniversary. I was excited — until I saw the box.
That night taught me a valuable lesson. Assembling a tv stand with a fireplace doesn’t have to be hard. It just needs patience, the right tools, and a plan.
Modern fireplace TV consoles are amazing. They add warmth, ambiance, and storage in one piece. Brands like ONBRILL WORLD offer designs that make your living room look like a magazine. Electric fireplaces are safer, easier to use, and save energy compared to traditional ones.
Assembling it takes just a few hours. You can do it with one or two people, no need for a pro. Just follow the instructions and get ready to get a little dirty.
I made this guide because I wish someone had helped me the first time. It’s for DIY experts and beginners alike. Let’s create something beautiful together.
Key Takeaways
- Assembling a fireplace TV stand at home typically takes just a few hours with one or two people.
- Electric fireplace inserts are safer and more energy efficient than traditional fireplace options.
- Accurate room and TV measurements are critical before you start the assembly process.
- Following fireplace tv console installation instructions step by step prevents costly mistakes and rework.
- Proper tools, a level workspace, and safety gear make the entire build smoother and faster.
- Cable management and electrical safety should never be skipped during setup.
Choosing the Perfect Fireplace TV Stand for Your Space
Before you start assembling your electric fireplace TV stand, choose the right one. I learned the hard way that picking the wrong one can be a problem. Planning ahead is key, and these tips will help you before you even unpack the box.
Measuring Your Room and TV Dimensions
Use a tape measure to check your wall space and the distance to your seating area. Make sure to leave at least 3 inches of space on each side. The size of your TV is also important — a 65-inch TV on a 50-inch console looks too big.
- Measure wall width where the stand will sit
- Note your TV’s width, depth, and weight
- Check doorways to make sure the box fits through
Electric vs Traditional Fireplace Options
I prefer electric inserts because they’re easy to use and safe. They plug into a standard outlet and use LED technology to save energy. Traditional fireplaces are beautiful but require a lot of work and maintenance.
| Feature | Electric Fireplace | Traditional Fireplace |
|---|---|---|
| Installation | Plug-and-play | Professional required |
| Annual Maintenance Cost | $0–$20 | $150–$500 |
| Safety Level | Cool-touch glass | Open flame risk |
| Energy Efficiency | Nearly 100% | 50–70% |
Storage and Style Considerations
Think about what you’ll store in your stand. Look for ones with adjustable shelves and cable management. I like brands like Walker Edison for their eco-friendly wood and energy-efficient inserts. Choose a style that fits your room, whether it’s modern, farmhouse, or mid-century. Once you’ve found the perfect stand, you’ll be ready to assemble it.
Essential Tools and Materials You’ll Need
Before starting the step by step fireplace tv stand assembly, I make sure my toolkit is ready. It’s frustrating to search for a missing screwdriver in the middle of building. A little preparation makes the process smoother and less stressful.
Basic Tools Checklist
I keep my tools simple. Here’s what I grab before starting:
- Phillips and flathead screwdrivers
- Cordless drill with bit set
- Tape measure
- Bubble level
- Rubber mallet
- Allen wrench set (some brands include these)
Most fireplace TV stands from brands like Walker Edison or Ameriwood Home include basic hardware. But, it’s always good to have your own tools for a tighter build.
Safety Equipment and Precautions
I never forget safety gear, even for furniture assembly. Work gloves protect my hands from sharp edges. Safety glasses keep dust and wood particles out of my eyes when drilling.
One rule I always follow: if the electrical wiring looks too hard, I call a licensed electrician. No furniture is worth the risk of a shock or fire. The U.S. Consumer Product Safety Commission reports over 31,000 home fires each year linked to electrical issues.
Organizing Your Workspace
My step by step fireplace tv stand assembly starts with clearing the floor. I need at least a 6-by-8-foot area to lay out panels and parts without tripping over anything.
I use small bowls or magnetic trays to sort screws, bolts, and dowels by size. Labeling each group helps me avoid confusion. A clean, well-lit space makes the whole process faster and more enjoyable.
Measure twice, drill once. Your future self will thank you.
With everything organized, I’m ready to unbox and start checking inventory — which is exactly what comes next.
Unboxing and Inventory Check
Oh, the excitement is real. Your new fireplace TV stand has arrived, and you can’t wait to open it. But, slow down and be patient. A good fireplace TV stand setup guide starts with a thorough check before you start assembling.
Use a box cutter carefully to open the packaging. Don’t cut through the cardboard like a ninja. This can scratch panels or damage parts inside. Gently pull out each piece and place it on a soft surface, like a blanket or old bedsheet.
Next, don’t skip this important step. Open your instruction manual and find the parts list. Every good fireplace TV stand setup guide will tell you to do this. Count every single item. This includes screws, bolts, cam locks, dowels, brackets, and the electric fireplace insert itself.
Here’s a quick checklist to follow:
- Inspect all panels for dents, cracks, or scratches from shipping
- Verify hardware bags match the quantities listed in the manual
- Confirm the electric fireplace insert and its power cord are included
- Check for any loose or broken components
Missing a single cam bolt can bring your entire build to a frustrating halt — trust me, I’ve been there.
If anything is missing or damaged, contact the manufacturer right away. Big brands like Ameriwood Home and Walker Edison usually send replacement parts within a few days. It’s smart to take photos of any damage to speed up the claims process.
With everything checked, you’re ready to start assembling. This inventory step might seem tedious, but it saves you from headaches later on.
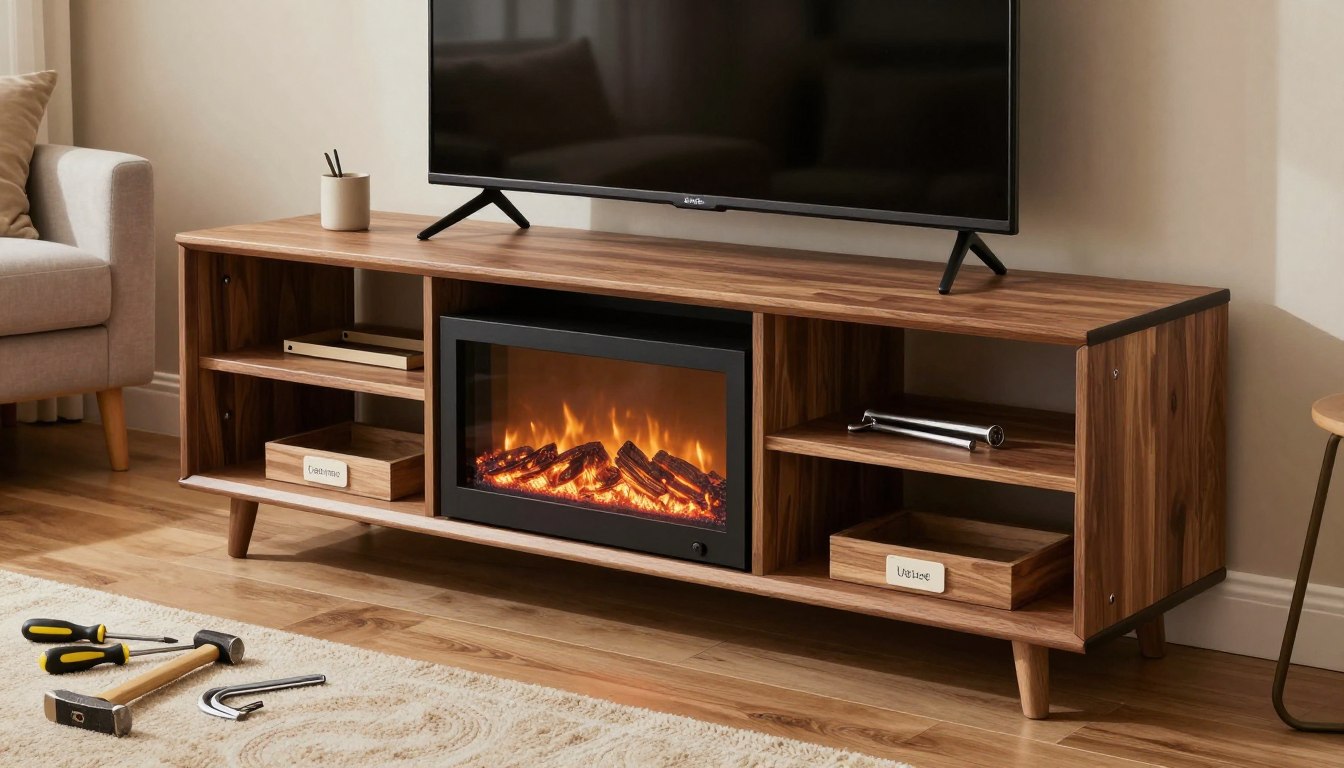
How to Assemble TV Stand with Fireplace
Now it’s time to have some fun or question your life choices. Assembling a TV stand with a fireplace is not rocket science. It just needs patience, the right mindset, and a willingness to actually read the manual.
Reading the Instruction Manual
Reading instructions might feel like admitting defeat. But it’s worth it. Look over the manual before you start. Notice diagrams, labels, and warnings. This step helps avoid building something wrong and starting over.
Laying Out All Parts and Hardware
Put all parts on your workspace. Sort screws, bolts, and dowels by type. Check them against the manual’s parts list. If something’s missing, contact the maker right away. This ensures no surprises during the electric fireplace installation.
Following Step-by-Step Assembly Process
Do each step in order. Don’t skip any. Tighten screws and bolts well at each step. If parts don’t fit, check the instructions again. Forcing parts can damage the stand.
| Assembly Step | Estimated Time | Tip |
|---|---|---|
| Frame assembly | 20–30 minutes | Keep panels flat on a soft surface to avoid scratches |
| Shelf and divider installation | 15–20 minutes | Hand-tighten first, then secure with a drill |
| Back panel attachment | 10–15 minutes | Align corners before driving any nails or screws |
| Door and hinge mounting | 10–15 minutes | Adjust hinges so doors close flush |
Using a Level for Stability
After you finish, check the stand with a level. An uneven stand is unsafe. Use shims or pads to level it. A stable base is essential before installing the electric fireplace.
Installing the Electric Fireplace Insert
Now, the fun begins. Your TV stand will become a cozy centerpiece. Mounting the fireplace insert is surprisingly easy. I’ll guide you through each step to avoid any mistakes.
Proper Placement and Alignment
First, slide the electric fireplace insert into the opening without securing it. Make sure it’s centered so there’s an even gap on both sides. Use a tape measure for accuracy. An off-center insert looks bad and can affect heat distribution.
Ensure the insert’s front face is level with the stand’s frame. If it’s not, check your model’s specs against the opening size.
Securing with Brackets and Screws
After aligning, secure the insert. Most brands, like Ameriwood Home and Walker Edison, provide special brackets. Use all screws provided — skipping one is risky.
- Attach the top brackets first to hold the insert in place
- Secure the side brackets next for lateral stability
- Give each screw a firm twist without overtightening
- Gently push the insert to confirm zero movement
Mounting the fireplace insert requires patience. Hurrying can damage the stand or strip screw holes.
Checking Ventilation Requirements
Safety is key here. Electric fireplace inserts produce real heat, and blocked vents cause overheating. Find all vent openings on your insert, usually at the top and bottom.
Never place decorative items, books, or media boxes directly over the insert’s ventilation openings.
The good news? Electric fireplace TV stands are safe for apartments. They don’t need a chimney, gas line, or special ventilation. Just keep vents clear, and you’re ready to wire it up safely.
Electrical Connections and Safety
I’ll be blunt: electricity doesn’t care about your DIY enthusiasm. Before touching a single wire or plug, always unplug the fireplace insert from the wall. This isn’t optional—it’s the golden rule of every fireplace tv console installation instructions manual I’ve ever read. Skipping this step risks electrical shock or a short circuit, and neither makes for a fun weekend project.

Your manufacturer’s guide will walk you through connecting the fireplace insert to a power source. Stick to those fireplace tv console installation instructions like glue. Each brand—whether it’s Dimplex, Twin Star, or Ameriwood—has specific wiring configurations. Using a dedicated wall outlet rated for at least 120 volts and 15 amps is standard for most electric fireplace inserts sold in the United States.
“Never use an extension cord with an electric fireplace insert. Plug directly into a wall outlet to prevent overheating and fire hazards.” — National Fire Protection Association
I always recommend plugging your unit into a surge protector. Power surges can fry internal components in seconds. It’s a small investment that saves you from a big headache.
If your fireplace doesn’t power on, run through this quick checklist before panicking:
- Confirm the wall outlet is working by testing it with another device
- Inspect the power cord for visible damage
- Check that all internal connections are secure per the fireplace tv console installation instructions
- Reset the unit’s built-in circuit breaker, if applicable
| Safety Measure | Why It Matters | Recommended Product |
|---|---|---|
| Surge Protector | Prevents damage from power spikes | Tripp Lite TLP606B |
| GFCI Outlet | Cuts power during ground faults | Leviton GFNT1-W |
| Dedicated Circuit | Avoids overloading shared circuits | 15-amp breaker minimum |
| Voltage Tester | Confirms outlet is live before plugging in | Klein Tools NCVT-1 |
Getting the electrical setup right means your fireplace runs safely and reliably. With that squared away, you’re ready to mount your TV on the stand.
Mounting Your TV on the Stand
Mounting your TV is a key part of setting up your tv stand with fireplace. It’s important to do it right to avoid a wobbly or broken screen. I’ll guide you through the steps to ensure your TV is mounted securely.
Selecting Compatible TV Mount Brackets
Not every bracket fits every TV or stand. First, check the VESA pattern on your TV’s back. This pattern shows the spacing of the mounting holes. Most TVs from brands like Samsung, LG, and Sony have standard sizes. Choose a bracket that matches your TV’s VESA pattern and can hold its weight.
| TV Size | Common VESA Pattern | Recommended Weight Rating |
|---|---|---|
| 32–43 inches | 200×200 mm | Up to 55 lbs |
| 50–55 inches | 300×300 mm | Up to 77 lbs |
| 60–75 inches | 400×400 mm | Up to 110 lbs |
Attaching Brackets to Your Television
Place your TV face-down on a soft blanket. Align the bracket arms with the VESA holes and use the bolts from your kit. Hand-tighten each bolt first, then use a screwdriver to tighten them more. Don’t over-tighten to avoid damaging the casing.
Securing TV to the Stand
Attach the brackets to your TV, then lift it onto the stand’s mounting plate. It’s best to have someone help you with this. Secure all screws and gently push the TV to check its stability. This step is critical to avoid accidents.
Adjusting for Optimal Viewing Angle
If your bracket allows for tilt or swivel, now’s the time to play with it. Aim for a viewing height of about 42 inches from the floor. Tilt the screen slightly to reduce glare from lights above. A quick test of picture and sound finishes this step before you manage cables.
Cable Management Solutions
Congrats on assembling your electric fireplace TV stand! But now, you’ve got a mess of cords behind it. A tangled mess can ruin the look of your living room. Here are some tips to keep your cables tidy and safe.
Hiding Cables Behind the Stand
Most fireplace TV stands have built-in cable channels. I thread my cords through these holes right away. If your stand doesn’t have these, you can use adhesive cable covers from D-Line or SimpleCord. They make your cables invisible and safe from tripping hazards.
Using Cable Ties and Clips
After setting up your TV stand, grab some Velcro cable ties. They’re easy to use and won’t damage your cables. Adhesive cable clips can also help keep your cables organized.
“A tidy cable setup is the difference between furniture that looks store-ready and furniture that looks like a dorm room.” — Bob Vila
Labeling Cables for Easy Identification
Labeling every cable is a must. I use small tags from Cable Matters. They help me avoid pulling the wrong plug at night.
| Cable Management Tool | Best Use | Approximate Cost |
|---|---|---|
| Velcro Cable Ties | Bundling multiple cords together | $6 – $10 per pack |
| Adhesive Cable Clips | Securing cables along the stand frame | $5 – $8 per pack |
| D-Line Cable Covers | Concealing runs along walls or panels | $10 – $15 per kit |
| Cable Matters Wrap Labels | Identifying each cord quickly | $7 – $12 per set |
Spending a bit more time on cable management is worth it. It makes rearranging or upgrading your system easier.
Testing Your Complete Setup
This is my favorite part — the moment of truth. After following all the fireplace media console assembly tips, it’s time to see if everything actually works. I like to think of it as the grand unveiling, minus the red carpet.
Start by plugging in the electric fireplace insert. Turn it on and cycle through the flame effects. Most modern units from brands like Dimplex or Twin Star offer multiple brightness levels and color options. Make sure the heating element kicks in and that warm air flows freely without any odd smells or rattling sounds.
Next, power up your TV. Check the picture quality and confirm all HDMI connections are snug. A loose cable can turn movie night into a frustrating guessing game.
“A setup isn’t complete until every component runs smoothly — test twice, relax forever.”
Here’s a quick checklist I run through every time I wrap up a build:
- Fireplace flames display correctly on all settings
- Heat output reaches the desired temperature
- TV powers on with a clear, stable picture
- Sound system or soundbar connects without static
- Remote controls operate both fireplace and TV
- No wobbling or instability when touching the stand
- Cables remain hidden and organized
One of the best fireplace media console assembly tips I can share? Let the unit run for about 30 minutes straight. This gives you time to spot overheating, detect weird noises, or catch a connection that drops intermittently. Grab a snack, sit back, and watch your setup do its thing.
Once everything passes inspection, you’re ready to move on to troubleshooting any small hiccups that might pop up down the road.
Troubleshooting Common Assembly Issues
Even the best step by step fireplace tv stand assembly can hit a snag. I’ve been there — staring at a wobbly cabinet like it personally offended me. Don’t panic. Most problems have quick fixes that’ll save you a call to customer support.

Alignment Problems and Solutions
If doors won’t close or panels look crooked, I recommend going back to your instruction manual. Chances are, a panel got flipped during your step by step fireplace tv stand assembly. Here’s what I check first:
- Loosen the screws on misaligned panels and gently reposition them.
- Use a rubber mallet — never a metal hammer — to nudge pieces into place.
- Grab your level again and confirm the stand sits flat on your floor.
Uneven flooring is a sneaky culprit. Furniture pads or shims under the base can solve that in seconds.
Electrical Connection Troubleshooting
Your fireplace insert won’t turn on? Before assuming the worst, run through this checklist:
| Symptom | Likely Cause | Quick Fix |
|---|---|---|
| No power at all | Loose plug or tripped breaker | Reseat the plug and check your breaker box |
| Flame effect works, no heat | Heater toggle switched off | Locate the heater switch on the unit or remote |
| Remote unresponsive | Dead batteries | Replace with fresh batteries |
If nothing works after these checks, contact the manufacturer’s support line. Brands like Duraflame and Twin-Star International offer solid warranty coverage.
Fixing Loose Components
Loose screws and wobbly shelves are common after a step by step fireplace tv stand assembly. I go back and retighten every bolt and cam lock. Use a screwdriver — not a drill — to avoid stripping the particleboard. A dab of wood glue on dowel joints adds lasting stability.
A 10-minute tightening pass now saves you from a full reassembly six months down the road.
With these fixes handled, you’re ready to keep your setup running smoothly for years with proper maintenance and safety habits.
Maintenance and Safety Tips
Your electric fireplace entertainment center looks amazing right now. But, it needs care to stay that way. Think of it like a pet, but without the vet bills or guilt trips.
Regular Cleaning and Care
I dust my fireplace TV stand weekly. For the glass, I use a soft cloth and a non-abrasive cleaner. Avoid harsh chemicals to prevent scratches or cloudiness. A mix of water and white vinegar works well.
Childproofing Your Fireplace TV Stand
If you have kids, safety gates or covers are essential. Kids find the flames tempting. Keep remotes out of their reach to avoid accidental heat settings.
Preventing Overheating Issues
Ensure air flows around your fireplace after installation. Never block vents with items. The Consumer Product Safety Commission says blocked vents can cause malfunctions. Keep at least three inches of space around the unit.
Periodic Hardware Checks
Check every bolt and screw every two to three months. Furniture can loosen over time. Also, inspect power cords for damage while you’re at it.
| Maintenance Task | Frequency | Tools Needed |
|---|---|---|
| Dust the stand | Weekly | Microfiber cloth |
| Clean glass panel | Bi-weekly | Non-abrasive cleaner, soft cloth |
| Tighten screws and bolts | Every 2–3 months | Screwdriver, Allen wrench |
| Inspect electrical cords | Every 2–3 months | Visual inspection |
| Check ventilation clearance | Monthly | Measuring tape |
“An ounce of prevention is worth a pound of cure.” — Benjamin Franklin
By following these tips, your setup will stay in great shape. Let’s wrap up in the next section.
Conclusion
Now that you know how to assemble a TV stand with a fireplace, the fun starts. I like adding candles, photo frames, or small plants to the shelves. It gives the setup a personal touch.
One of my favorite tricks is using a smart plug for the fireplace. Brands like Amazon Echo or Google Nest make it easy. I can control the fireplace with my voice from the couch. It’s a whole new level of comfort.
A fireplace TV stand is more than just furniture. It’s the heart of your living room, combining entertainment and warmth. Watching Netflix while the electric flames crackle is perfect. It’s an upgrade every living room needs.
How long does it take to assemble a TV stand with fireplace?
What tools do I need for a fireplace TV console installation?
Can I install an electric fireplace entertainment center in my apartment?
What’s the step by step fireplace TV stand assembly process in a nutshell?
How do I handle mounting the fireplace insert in my TV stand?
What should I do if my electric fireplace doesn’t turn on after assembly?
How do I keep my fireplace media console looking great long-term?
What’s the best electric fireplace TV stand setup guide for cable management?
Is it safe to assemble and install the electric fireplace myself, or should I hire a professional?
How do I choose between an electric and traditional fireplace for my TV stand?
giveitlegs@live.com
Contributing writer covering Honest reviews & buying help for fireplace TV stands and electric media consoles..